Eccosorb Shield Setup
- Setting up the
Shield
- Revision History
Back to BolocamWebPage
Back to ExpertManual
Setting up the Shield
There's really not much to this, but it's easiest to have all the
pictures on one page that can be printed out all at once. Click
on any of the pictures to get a full size view (about twice as large).
There are 7 separate eccosorb pieces. They are stored in the 3rd
floor storage
lab (possibly in a garbage bag to protect against water damage). Be careful with the eccosorb
pieces -- you don't want them to fall
apart and
have to cut new pieces.
Assembly order is as follows:
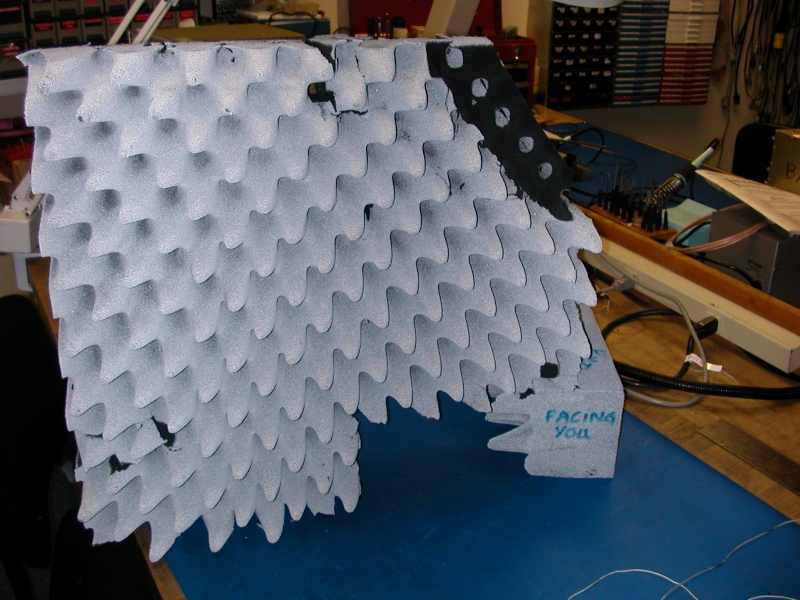
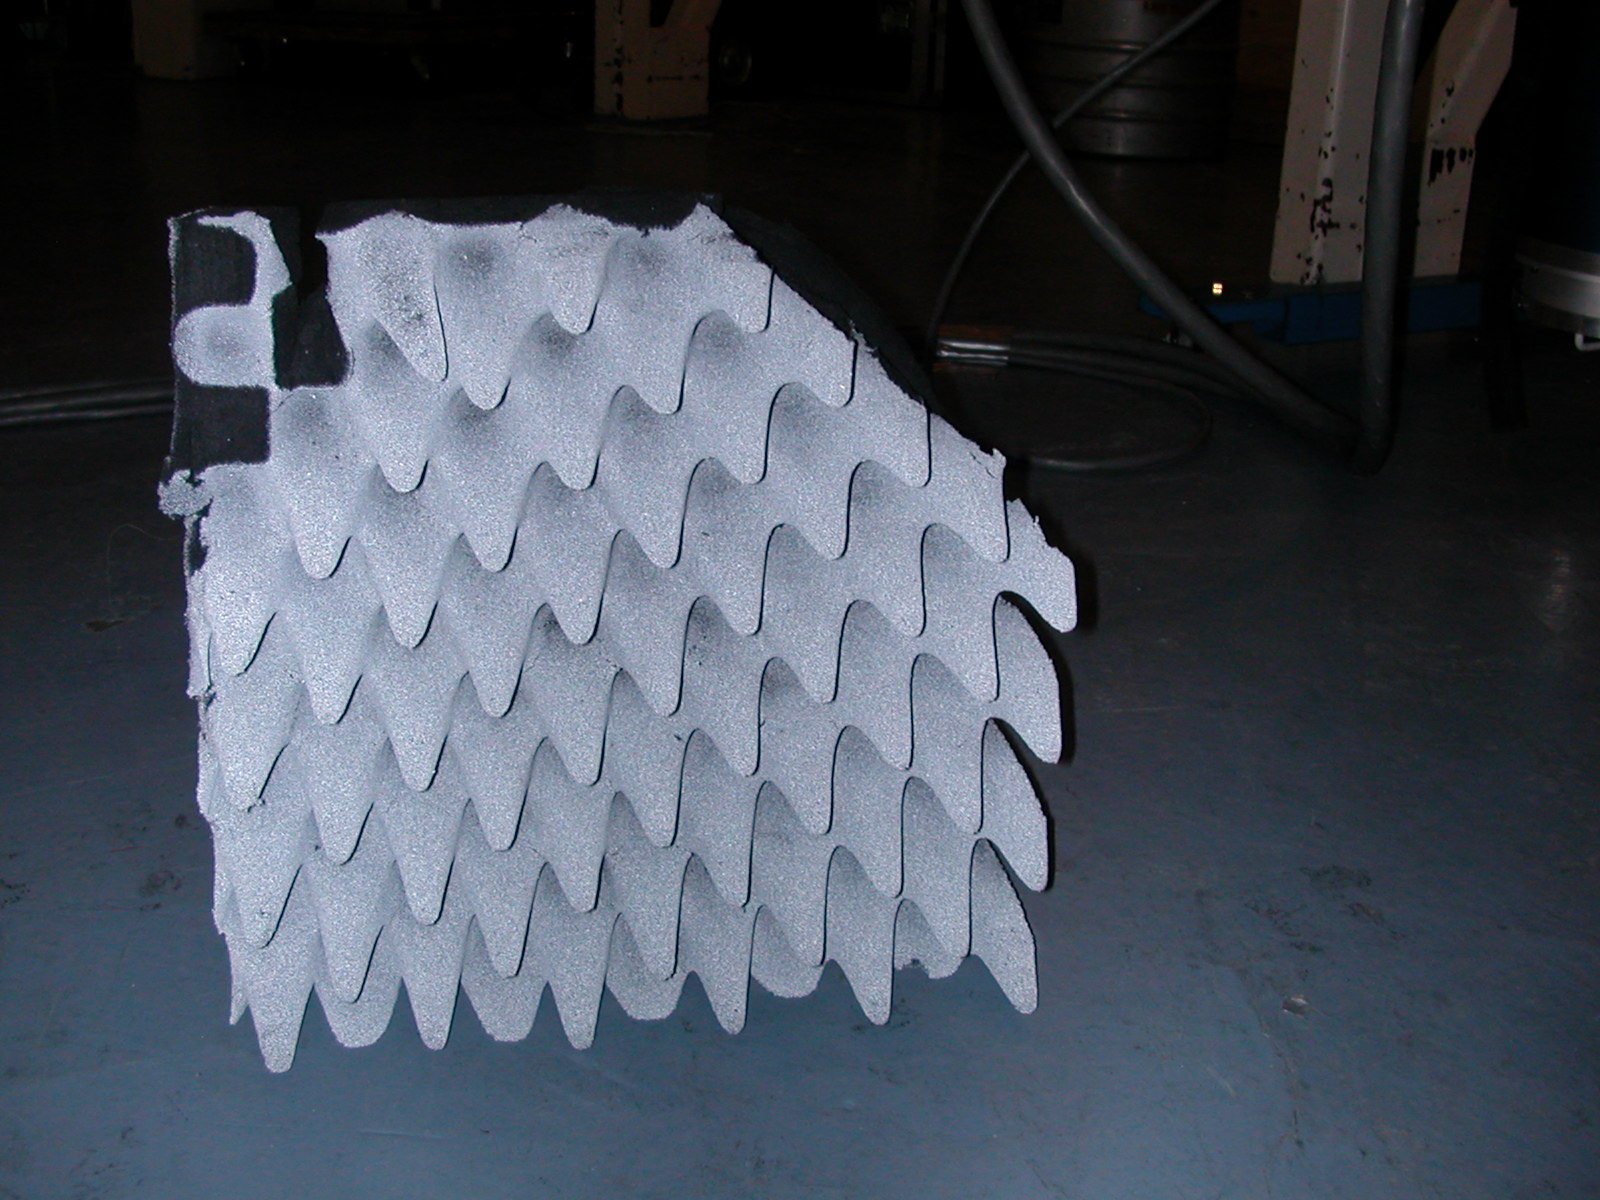
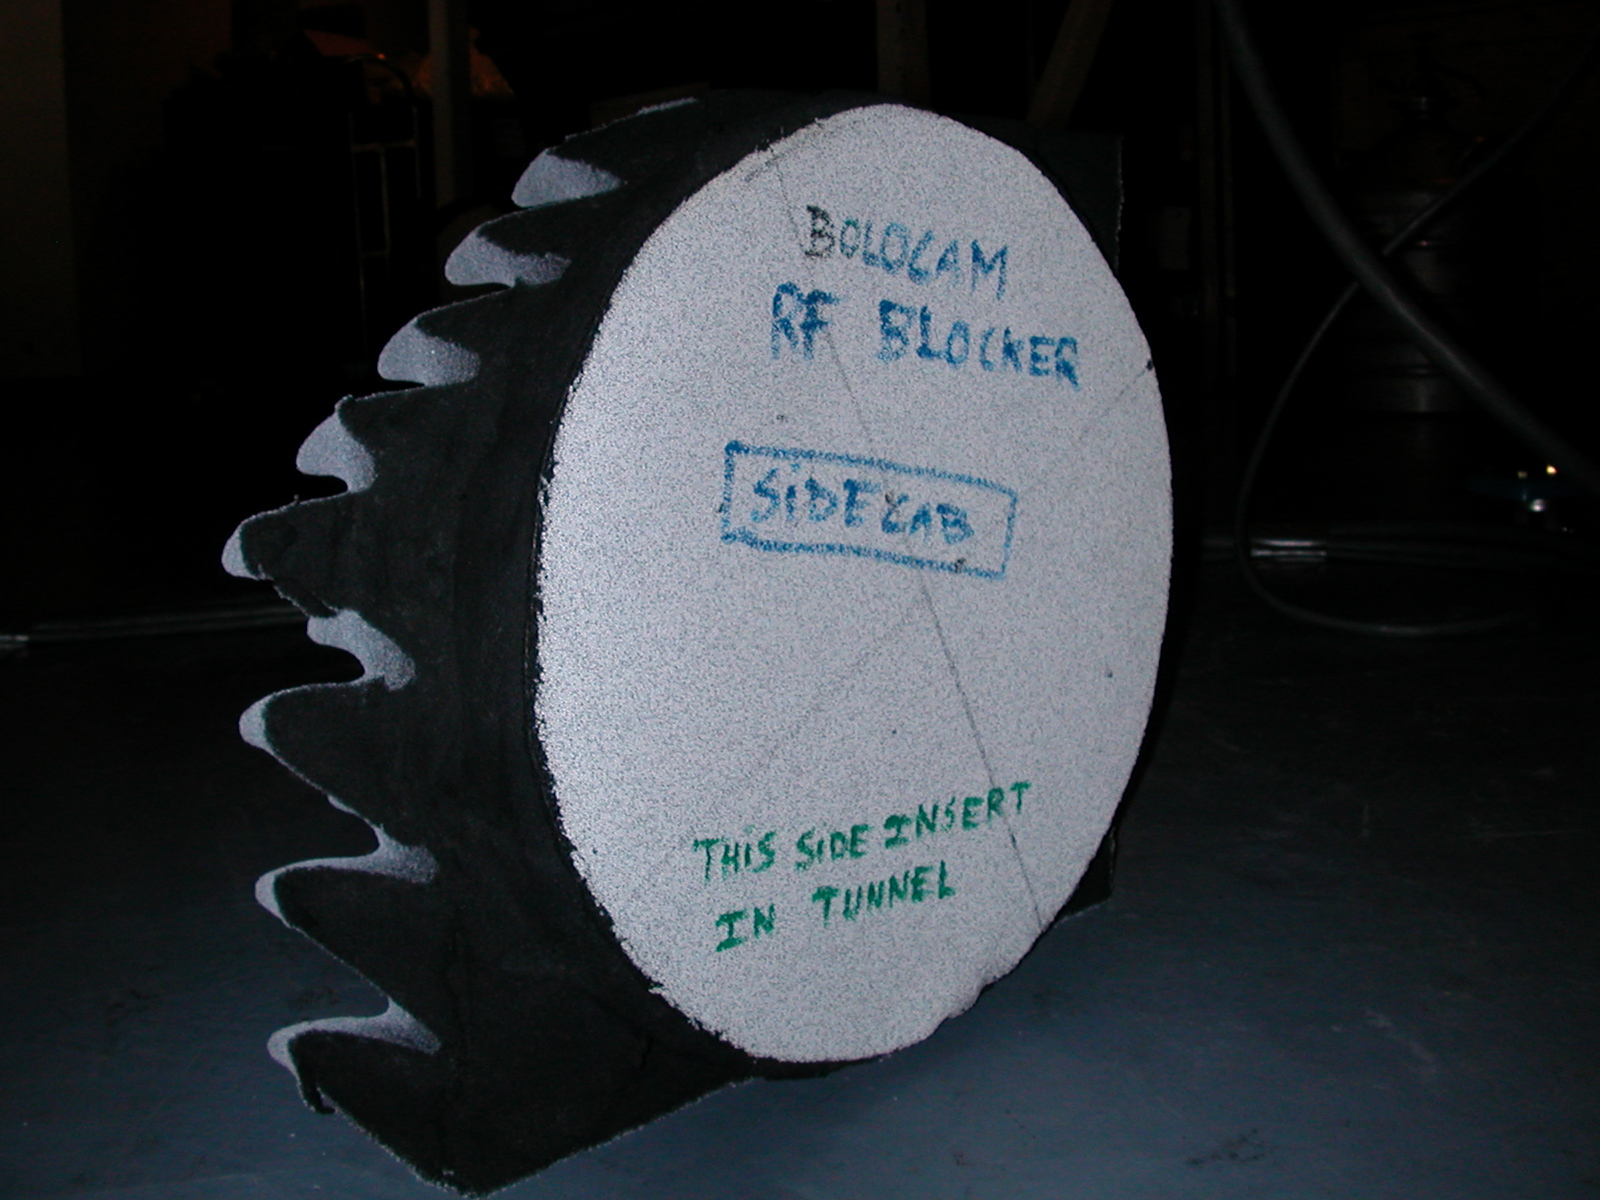
- Install the large left nasmyth hole piece. This blocks the
path to the sidecab. The piece looks as follows:
The order of installation is as follows:
- Move the telescope to ZA = 65. This will make it easier
to install the pieces.
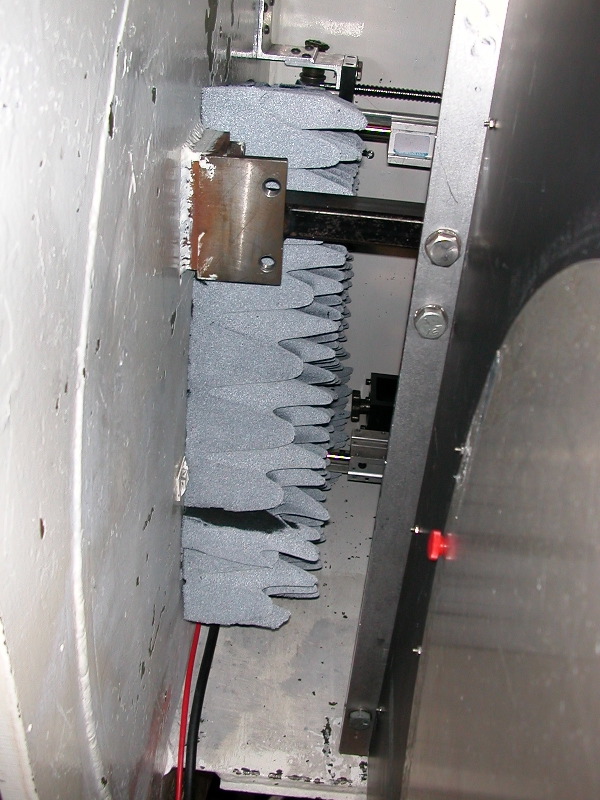
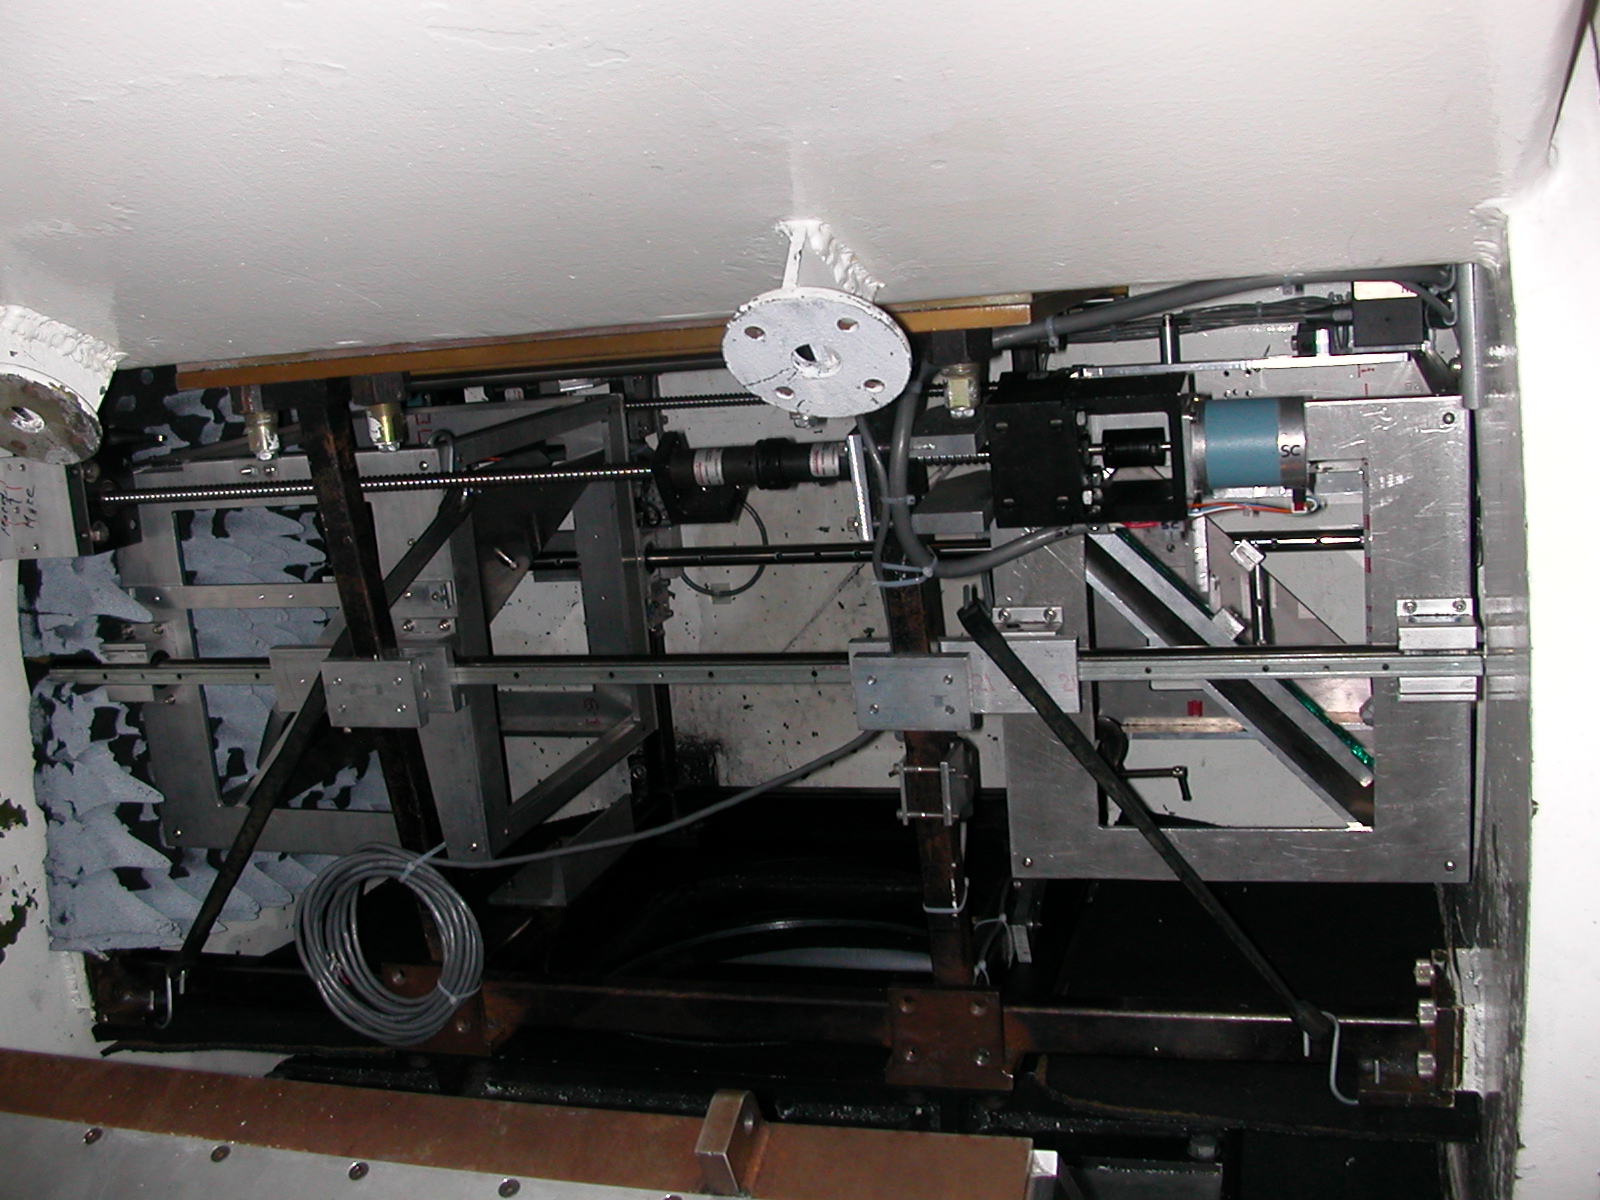
- Install the small rectangular piece. This view is
looking toward the elevation axis from the alidade platform.
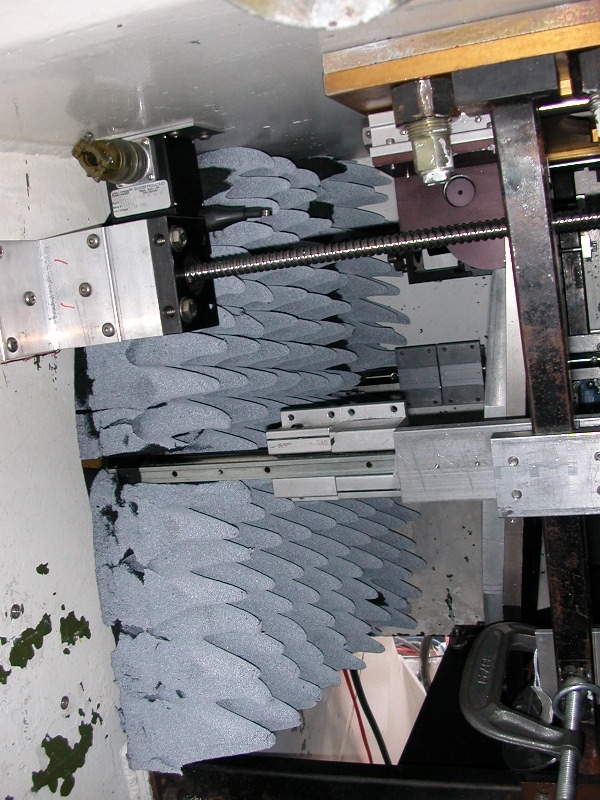
- Insert the large piece (same view):

- Push the piece so the circular protuberance on the back side
fits into the circular hole in the elevation bearing. leaving the flat
part of the back side flush against the elevation bearing wall (same
view):
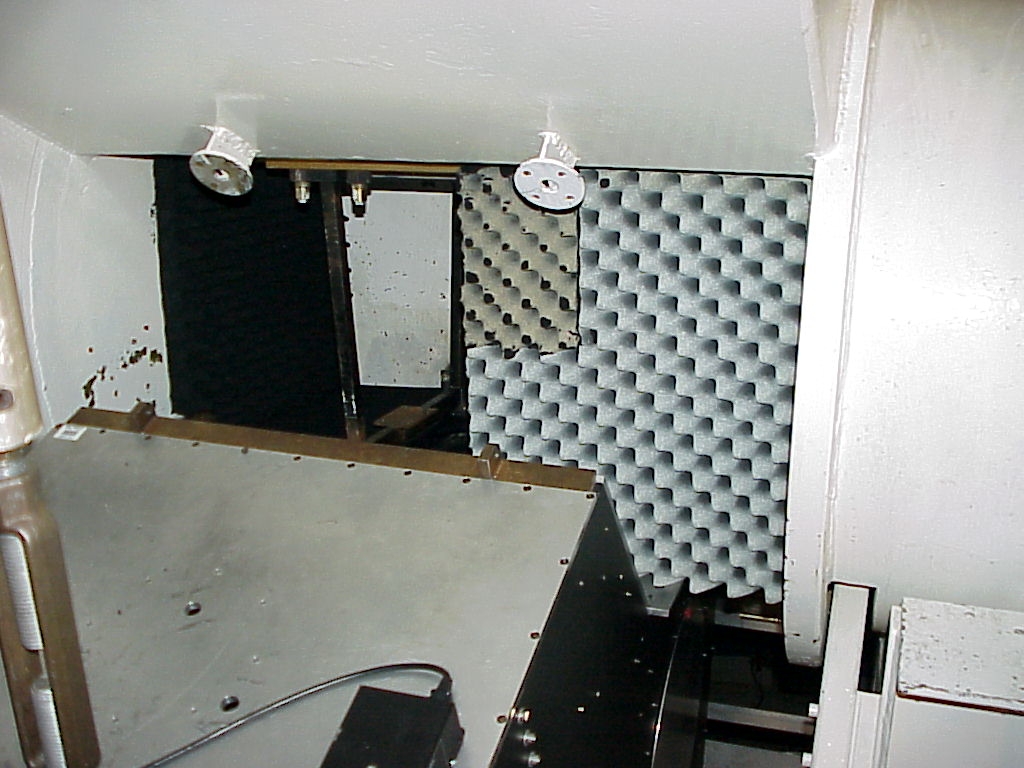
- In the end, the piece should look as follows (from slightly
different point of view):
- Return the telescope to near zenith (ZA < 25 or so).
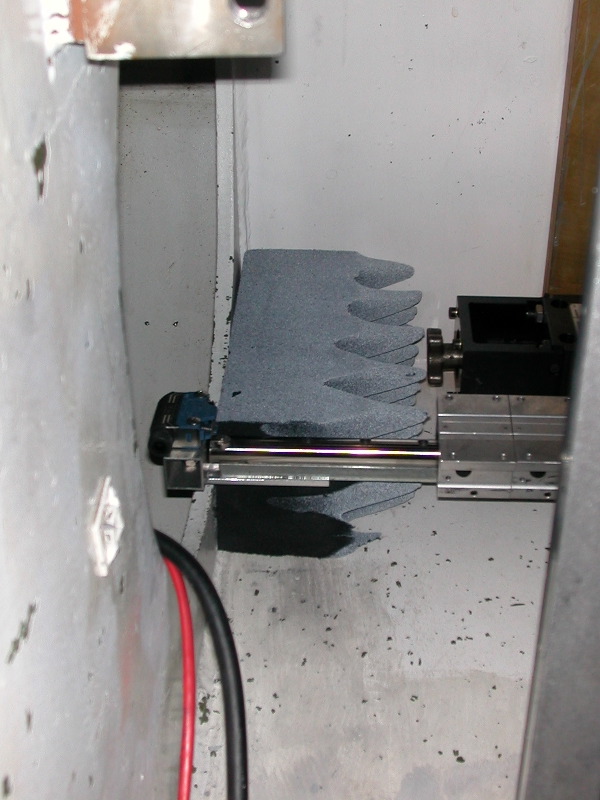
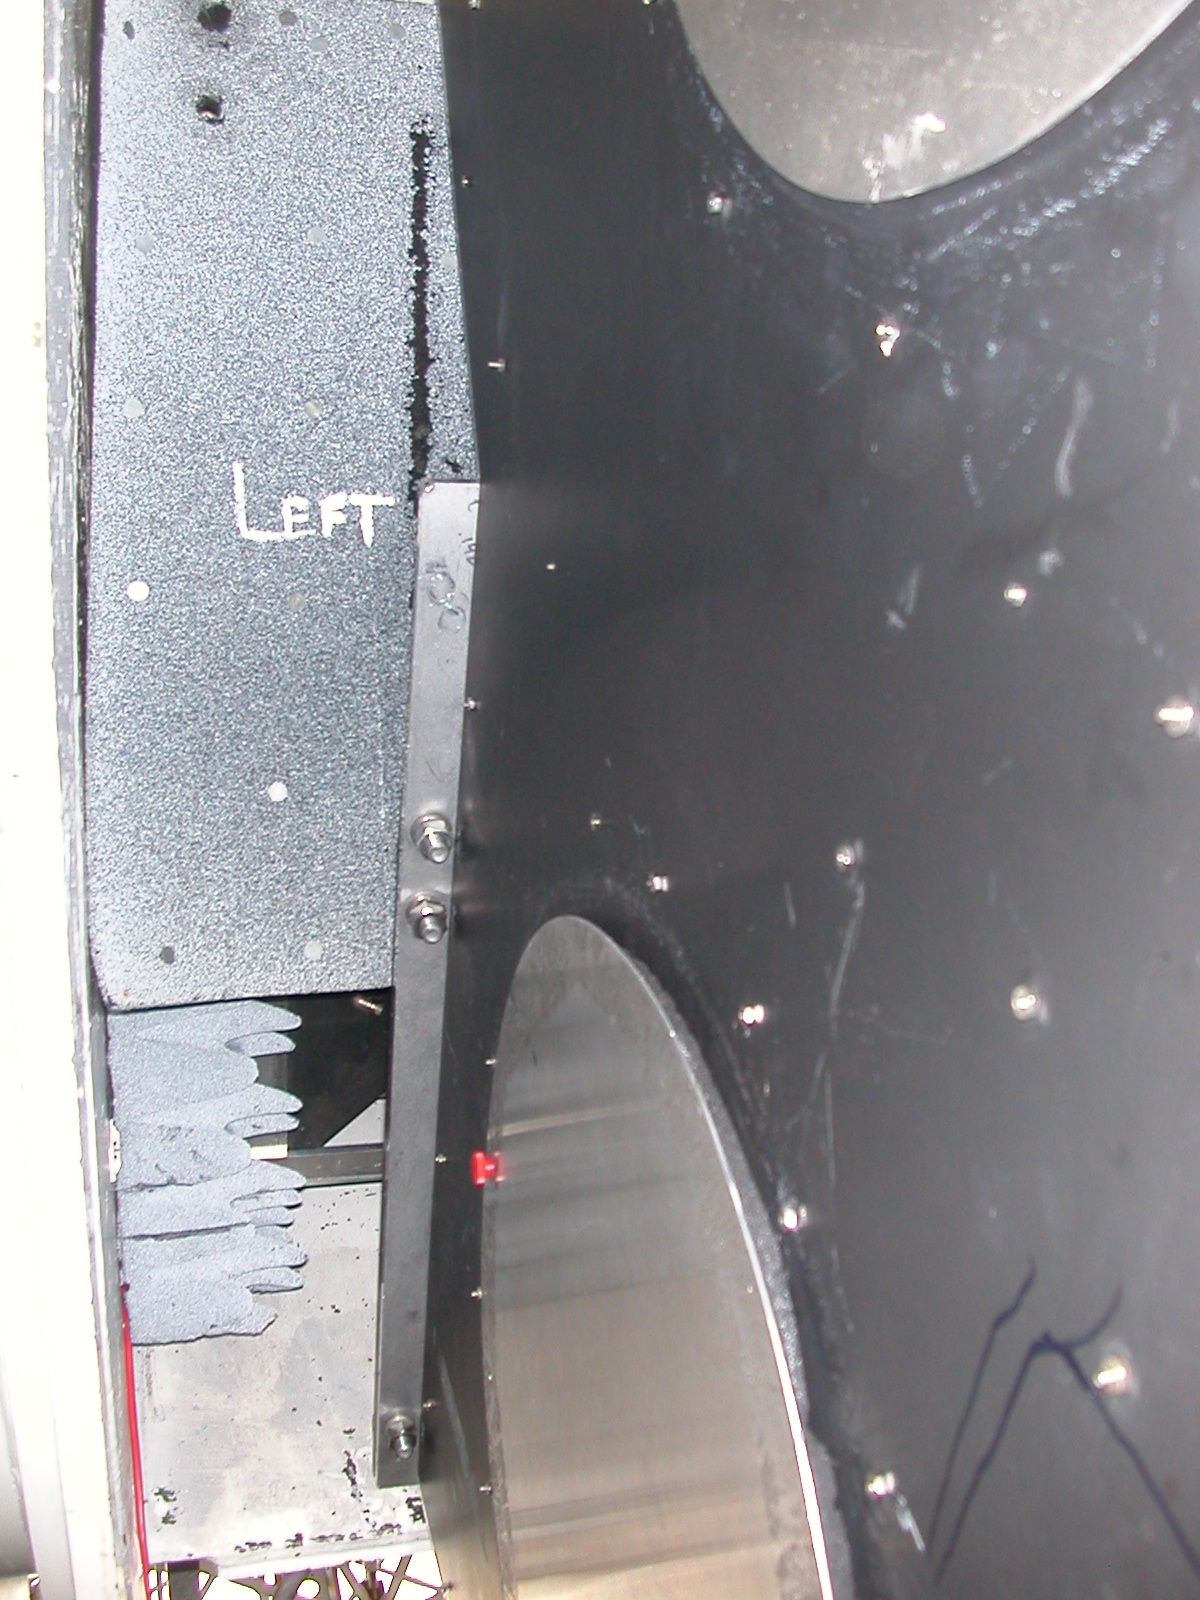
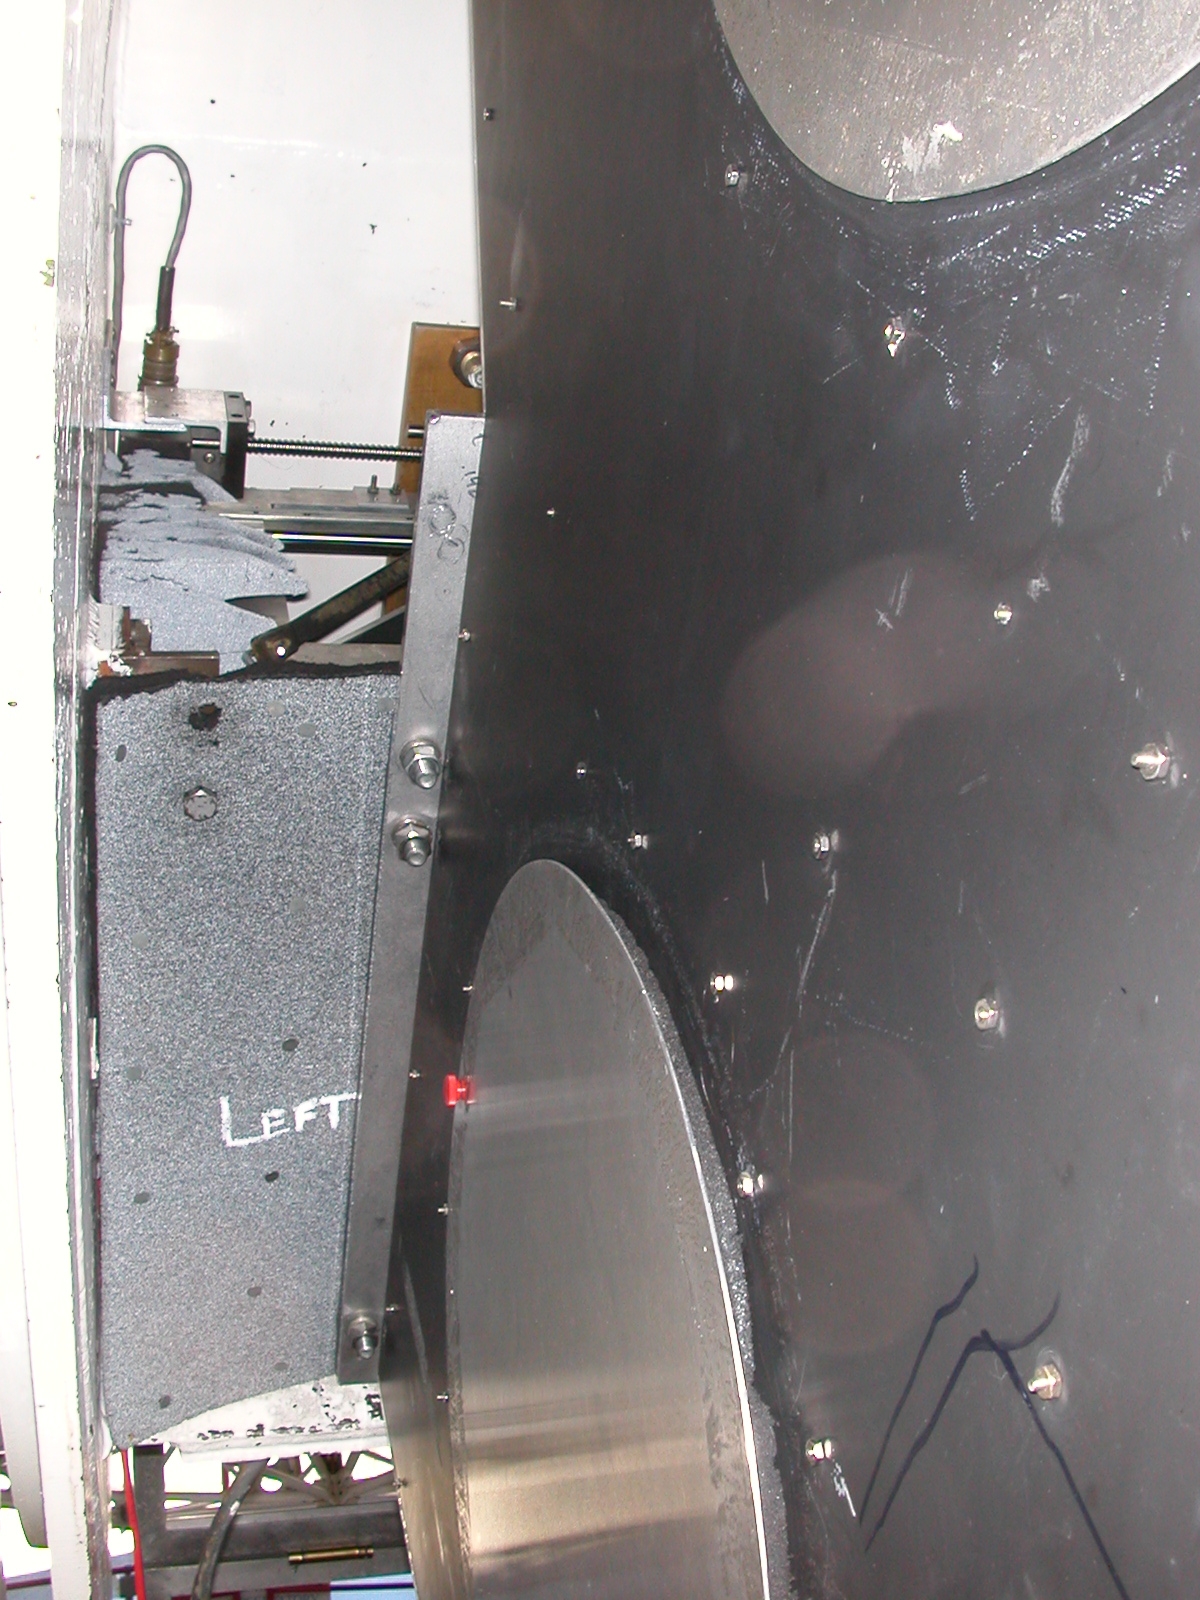
- Install the left slot piece. This is a thin rectangular
piece that blocks the slot on the left side of the optics box under the
left nasmyth hole. It is seen in the above picture and
below. You might find it easier to insert the piece by insert it down as shown by the left picture below.
In the right hand-side picture below, you can see a bolt that screws the
piece to the metal angle piece at the lower left.
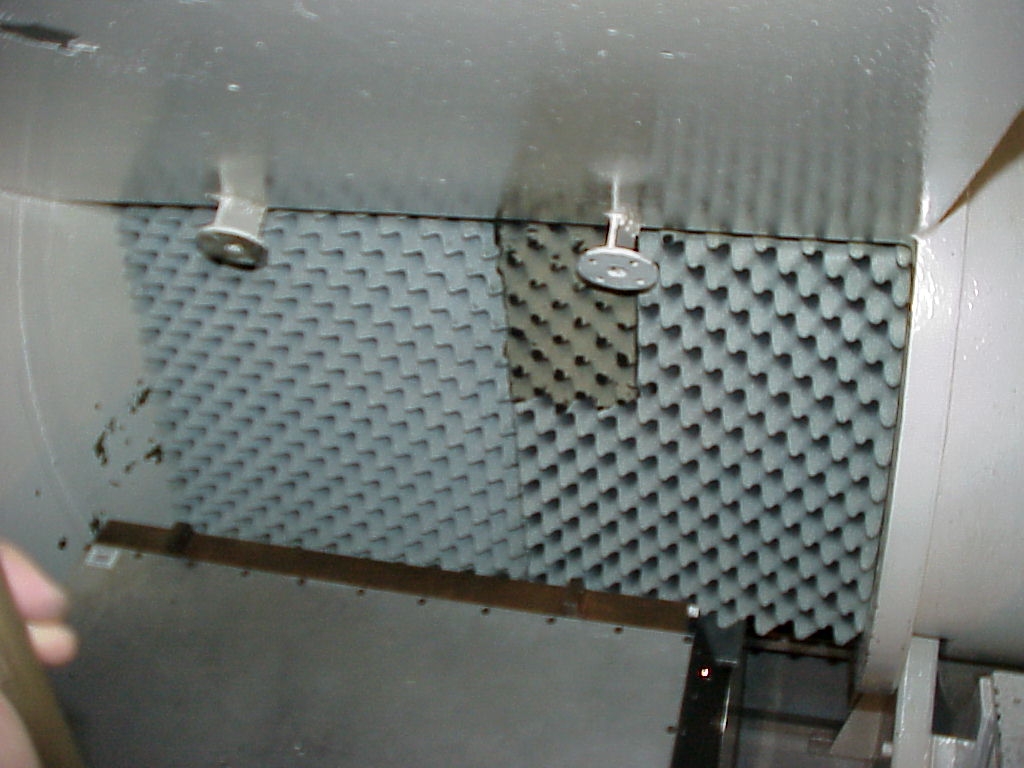
- Install the right side slot piece, shown from below, screwed in
as the left side slot piece was.

- With the two left side pieces in place, you should see:
- Install the two front pieces. It doesn't really matter
which order they are installed in, but they have to be wedged together
to stay in place. (Note the obsolete left-side eggcrate
eccosorb. THIS PICTURE NEEDS TO
BE UPDATED.)
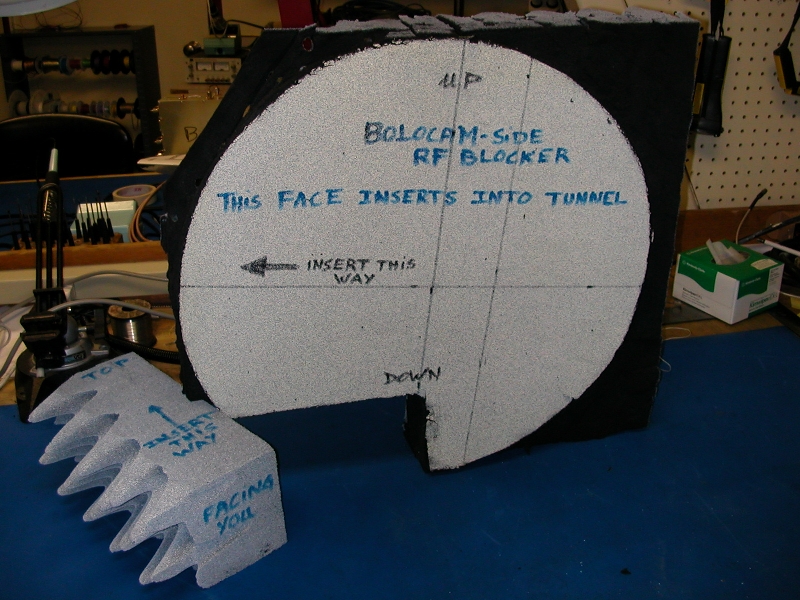
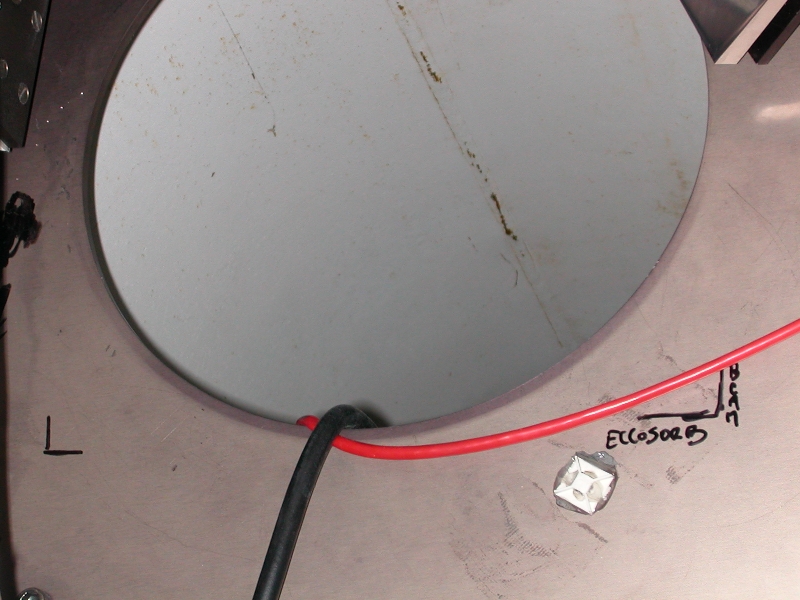
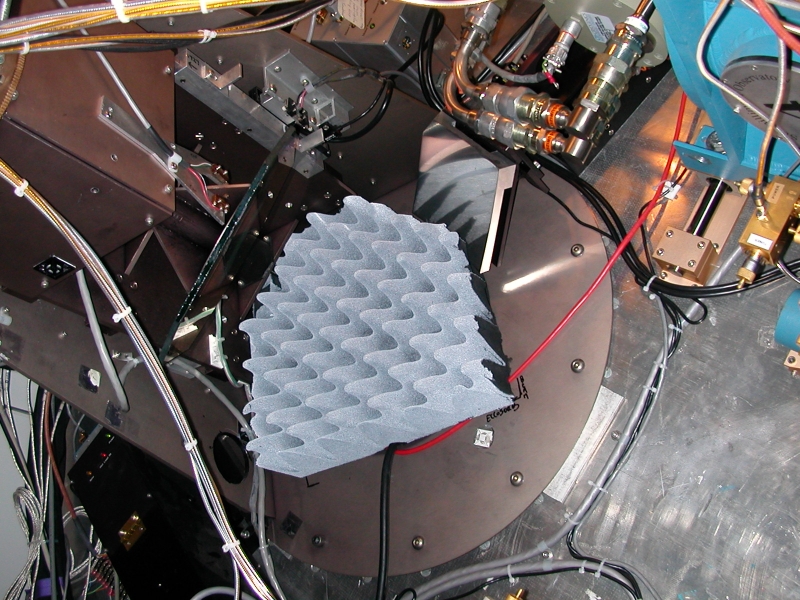
- Finally, we add a thick piece inside the sidecab at the input
port because something in the sidecab radiates RF, as shown by the pictures below:
There
exists a piece cut specially for this purpose. The following
pictures show the outline of where that piece should be placed and the
piece in place.
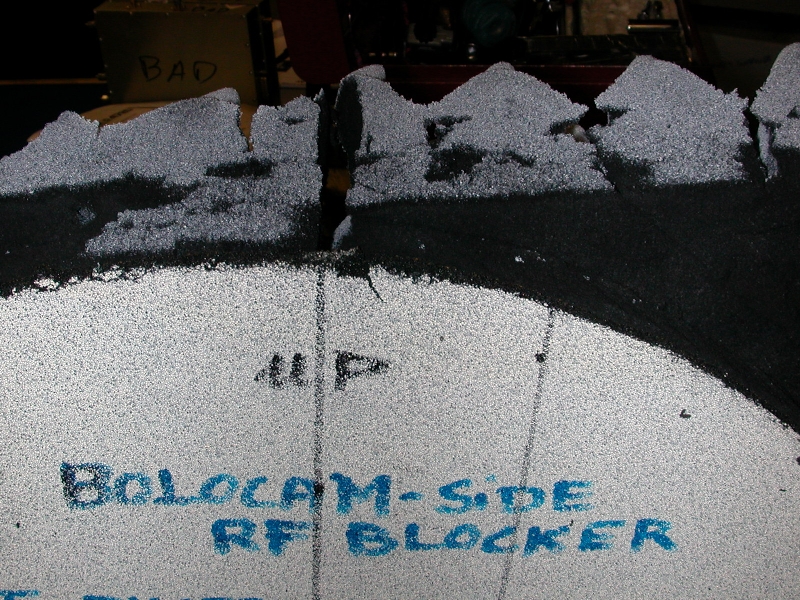
This piece too has a protuberance on its back
side that goes into the elevation bearing hole, as shown by the following pictures.
- Make sure to ground yourself
with a grounding strap to avoid accidentally damaging the SIS receivers.
- Use the little ladder in the sidecab to get yourself high
enough to insert the piece with a bottom up movement so the screw in
the LHS slides into the opened slit of the eccosorb piece.
- Push the piece so the protuberance goes into the elevation
bearing hole. Eventually the piece should align with the black marks.
That's it. If it is necessary to use either the sidecab or the
right Nasmyth focus, just remove the two large front pieces so you can
access the flip mirror and remove only
the pieces that will lie in the beam's path. All other pieces
should be left in place.
Revision History
- 2004/04/28 SG
First version
- 2004/05/13 SG
Revised for new thinner shield.
- 2004/05/23 SG
Minor clarifications.
- 2005/06/01 SG, PR
Update to match PR's new eccosorb pieces.
- 2005/09/12 PR
Update pictures of new eccosorb pieces.
Questions or
comments?
Contact the Bolocam support person.