Unmounting Bolocam
Most of the removal procedures are pretty much the ones used for
setting up but applied backward. However below gives additional
comments/reminders.
Tilt the telescope to ZA=4 for an easy access to the e-box, cables,
cable-ties, etc...
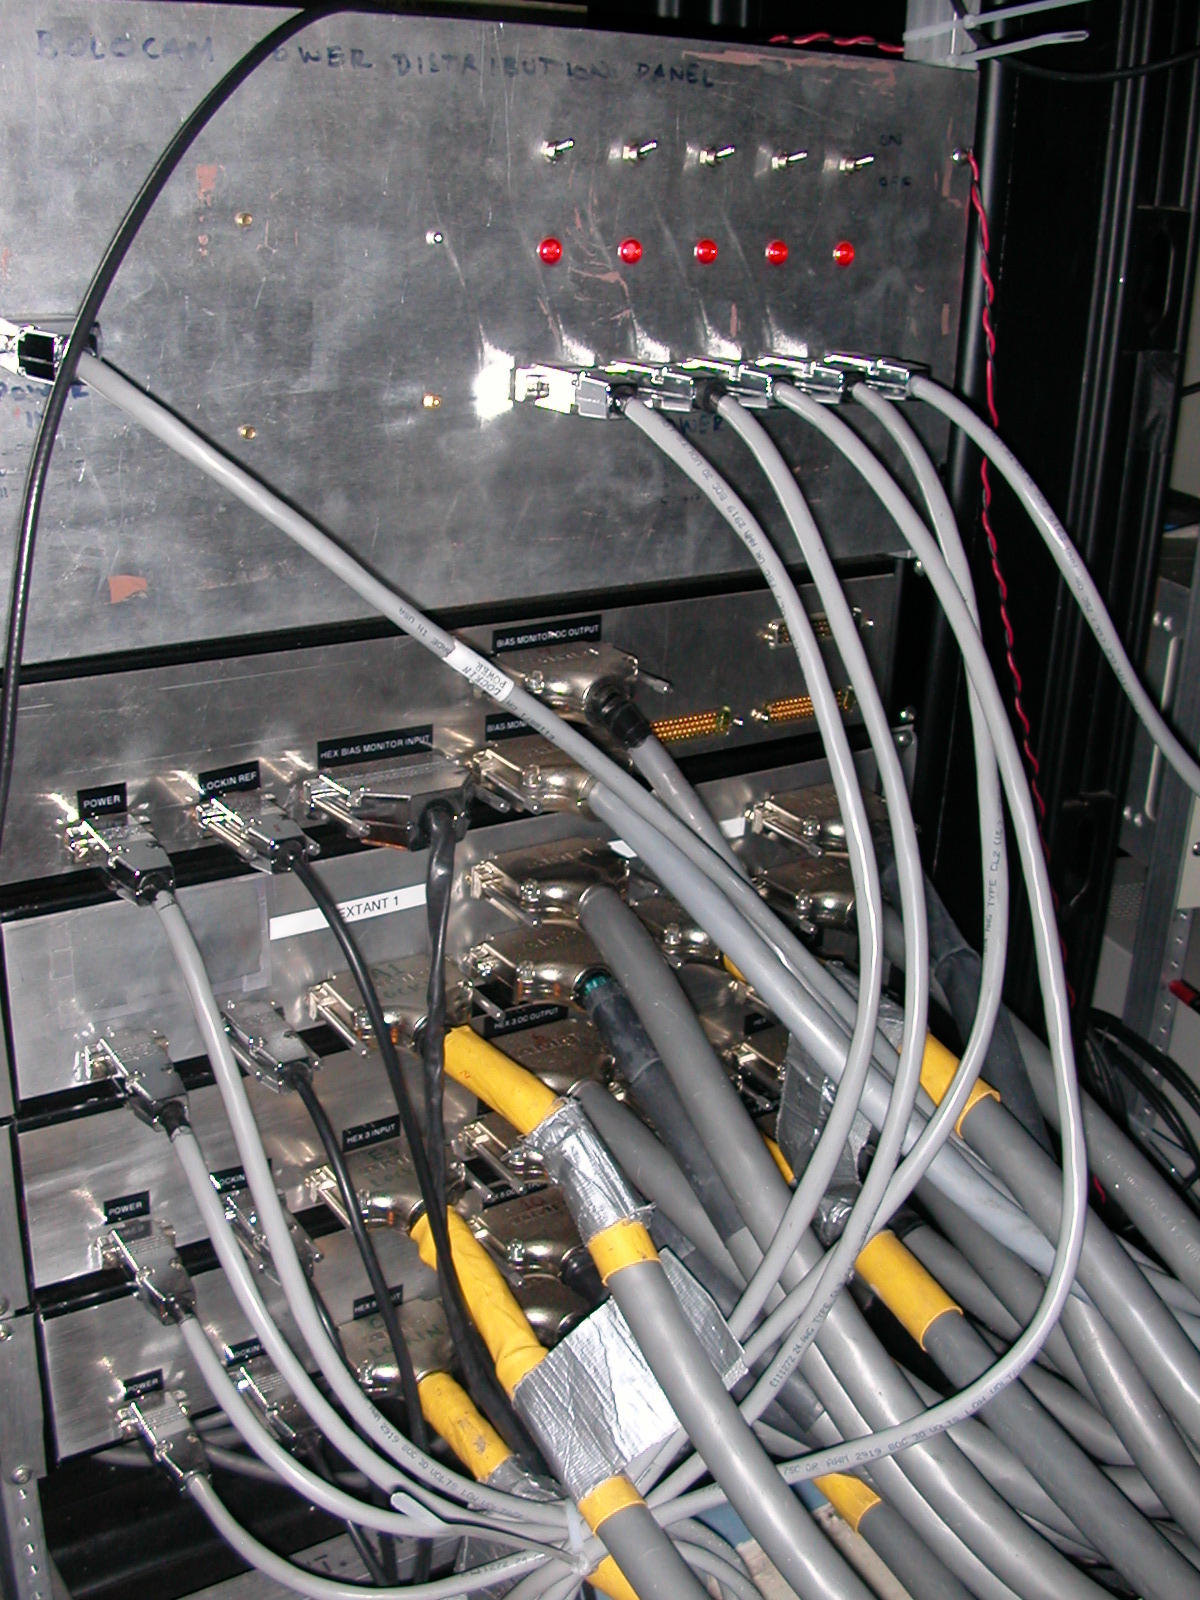
Refer to this picture to locate the switches evocated below in steps
3), 4), and 5):
- Stop the DAS if still running (running on Andante).
- Open the ebox top cover and turn off all the switches located in
the e-box (leave the e-box open). All LEDs should be off .
- In the left electronic rack facing the antenna (you should be
standing on the sidecab roof), turn off all the switches from the
'Power Distribution Panel'.
- Turn off the DAS multiplexer and then the Main Power Supply
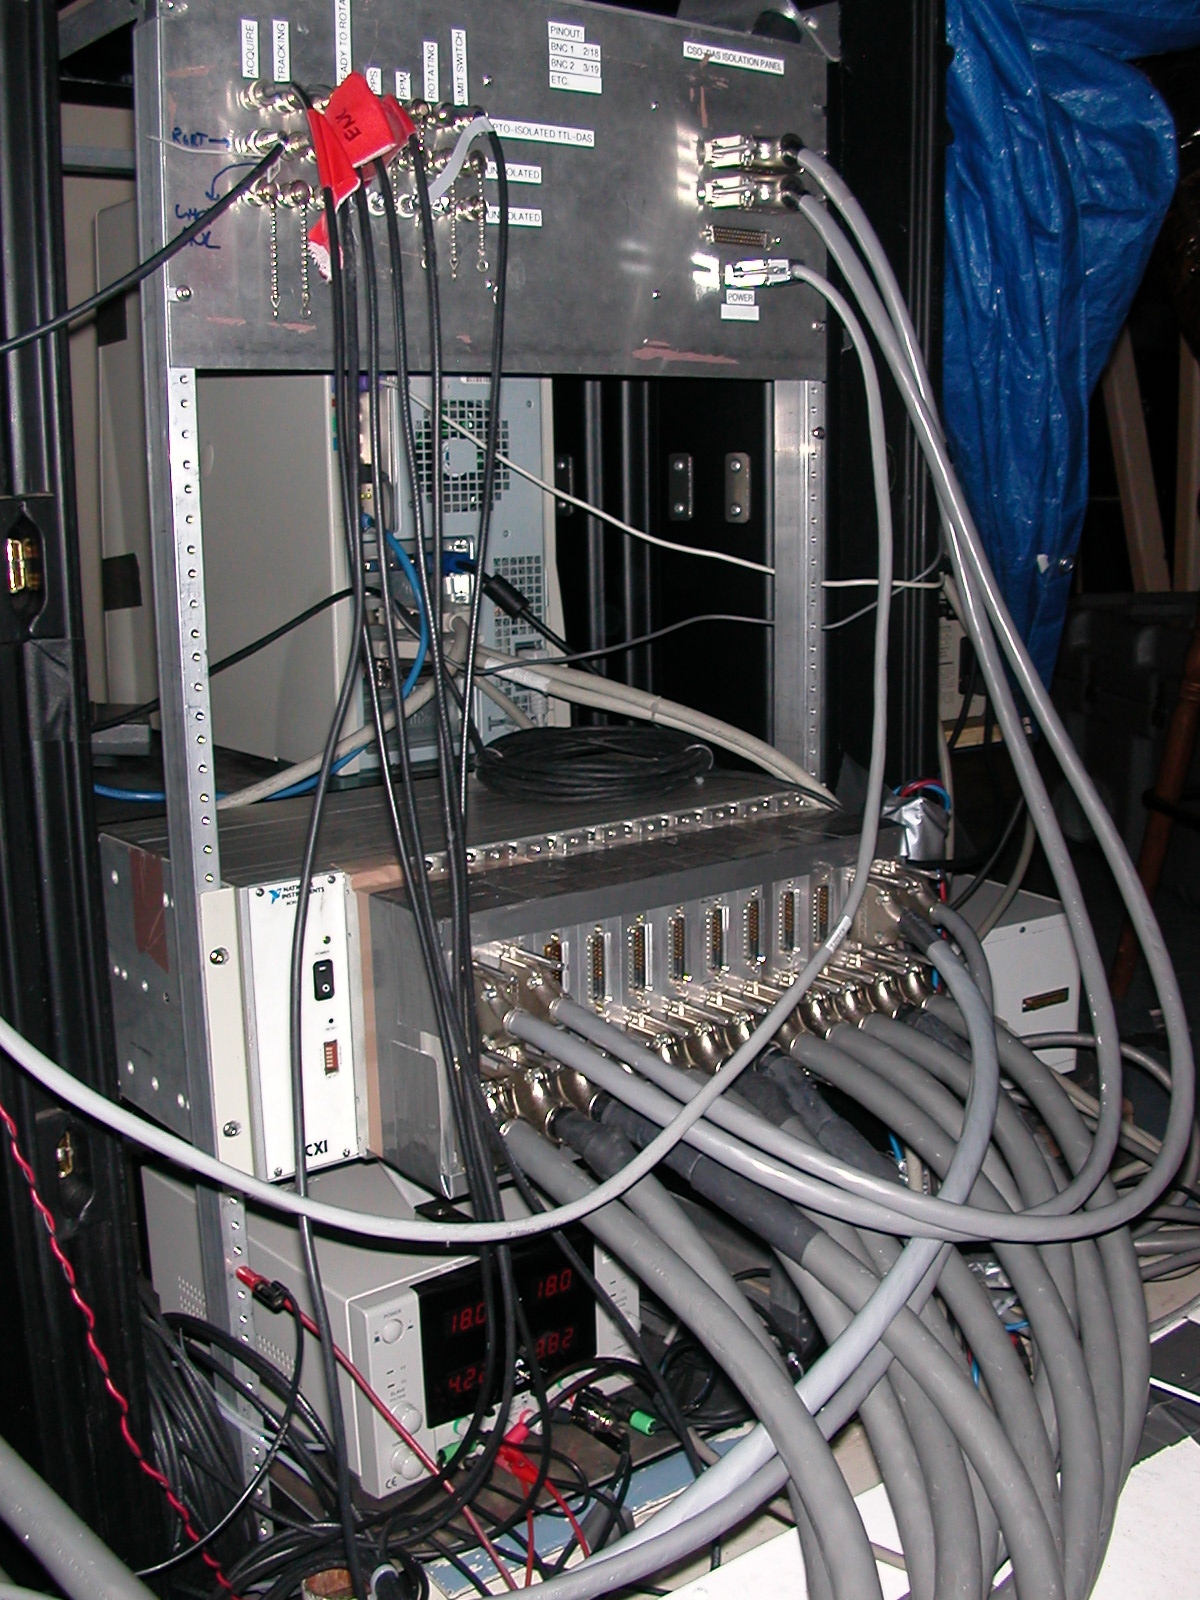
- Turn off the two fridge power supplies.
Now it is safe to start unplugging all the cables form bolocam.
Basically it is the exact same procedure as during the setup but
obviously reversed. Here are the major points:
- Unscrew the cables (6 Preamps+fridge board+AUX board+Bias
board+power cable)
- Remove the cable ties from the dewar's flanges
- Bundle the cable ends and securely wrap the end connectors with
bubble wrap before handling the cables any further.
- Remove the cable ties from the telescope structures making sure
to hold the cables (they would fall under their own weight and could
get damaged). Make your way towards the sidecab roof.
- Once on the roof of the side-cab, arrange the cables as shown in
this *picture*. Protect all end-connectors with bubble wrap.
- Dewar removal from Rotator
Make sure the
window cap is clipped on!
Reverse procedure as for setting up. Basically following the
steps backward will get you through.
Make sure to collect all the hardware (screws, nuts, washers, ...) in
the appropriate box. They can be found in Bolocam's closet and should
be put away in the same place.
Once the dewar is securely strapped on the Dolly:
- Carefully undo the
circular connectors.
- While one person is taking the weight of the ebox, another fellow
can unscrew all the screws holding the e-box. - Collect all the screws
and place them in the correct box
- bring the ebox on the 3rd floor
- screw eye-bolts
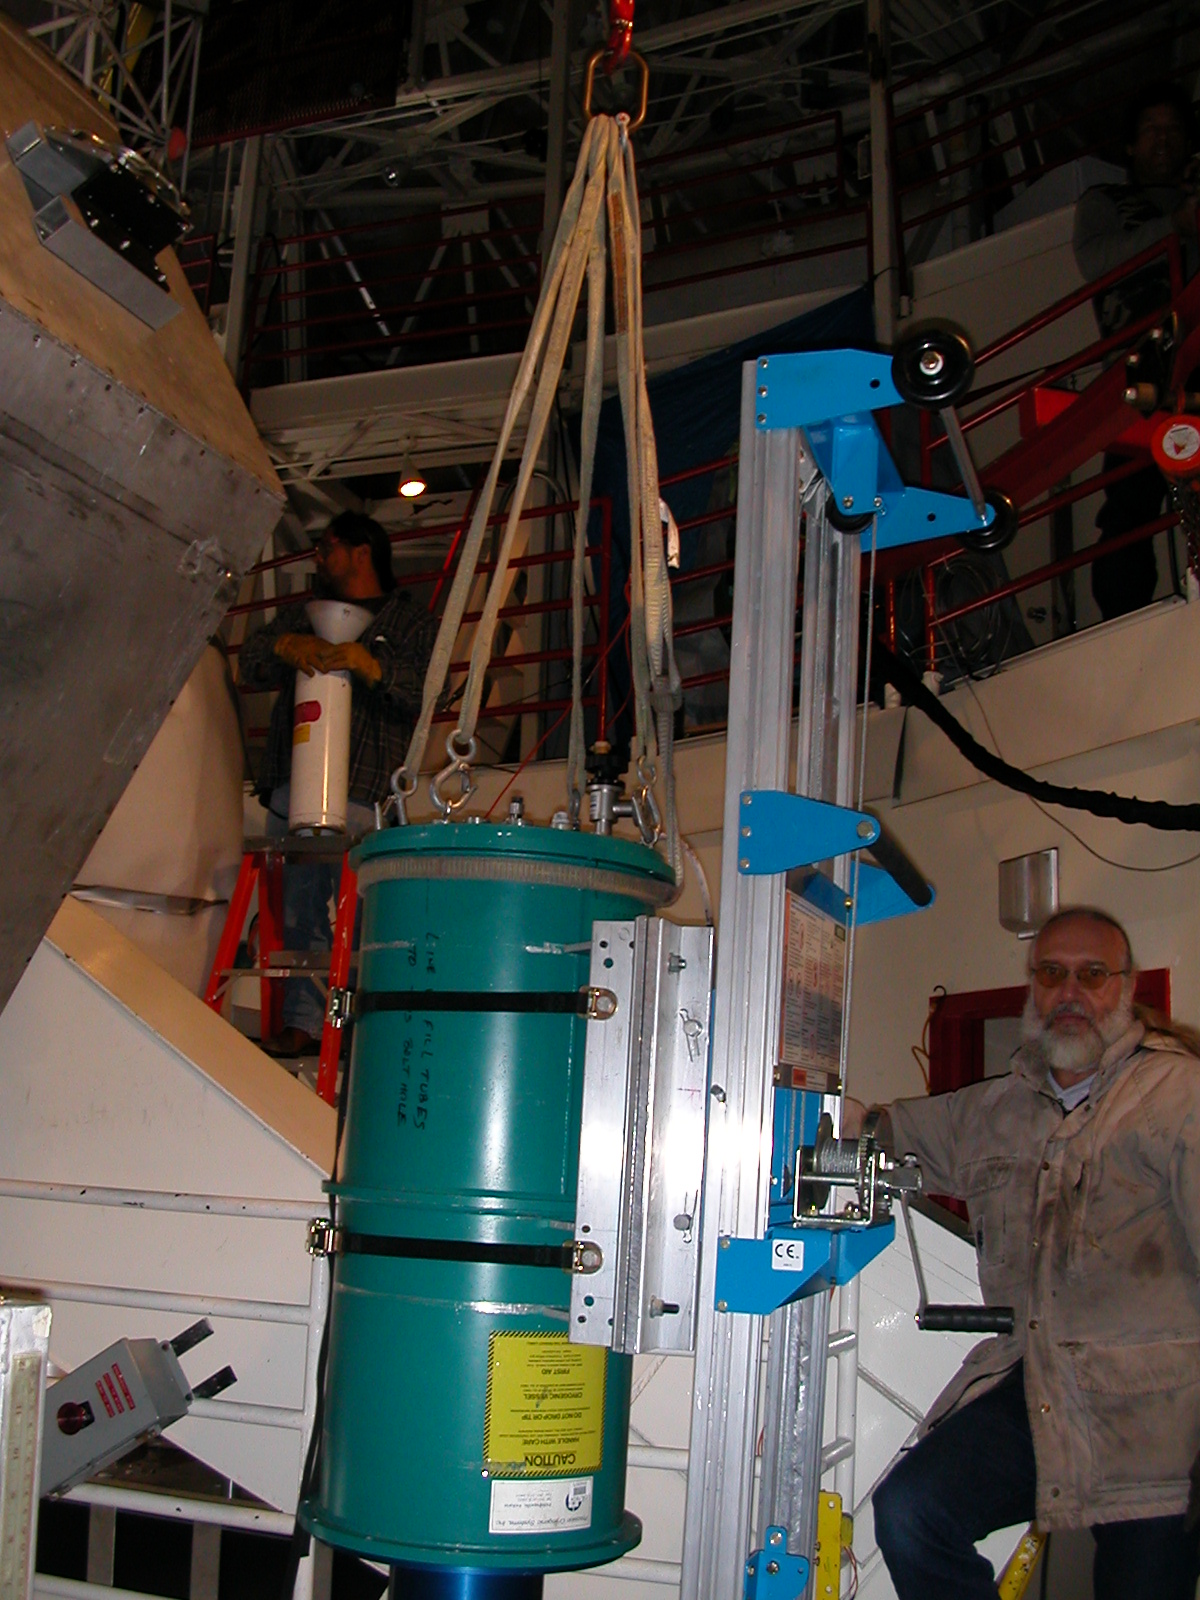
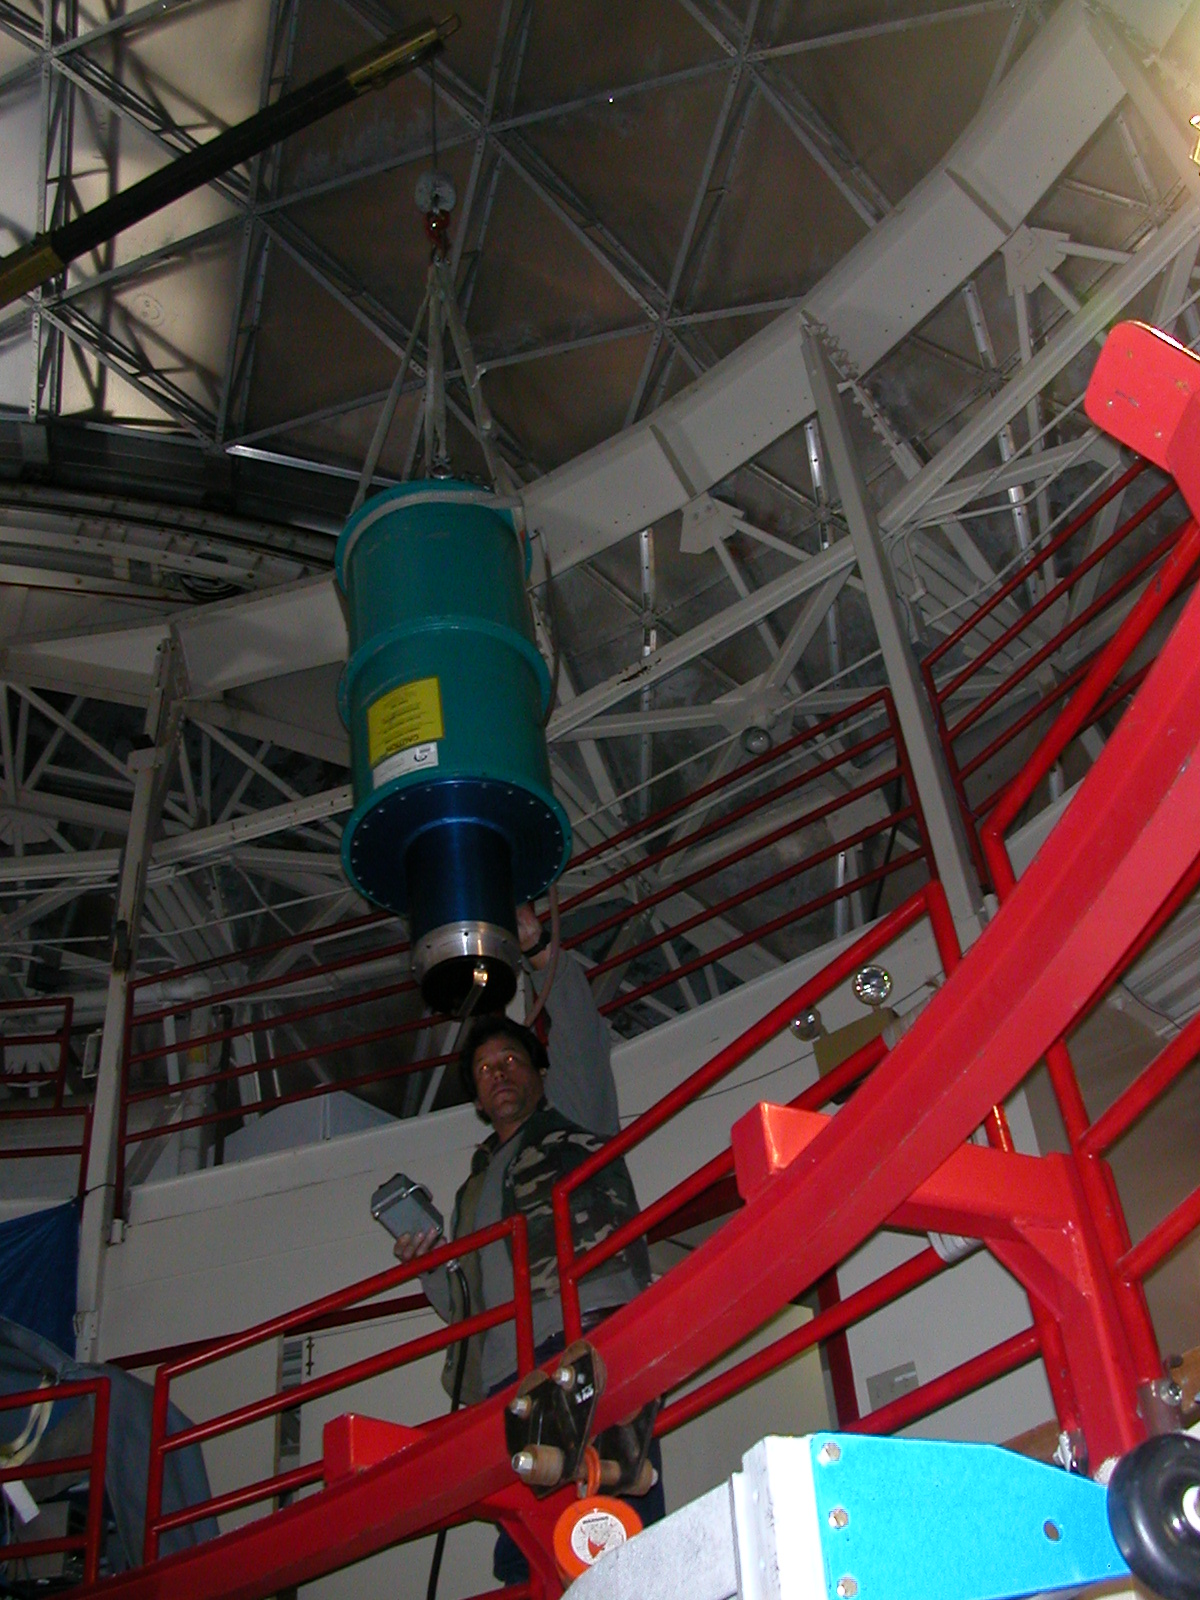
- Air-lifting the dewar up on the
3rd
floor
At this point the situation should look like the left pictures. Again,
apply backward the procedure used for setting up.
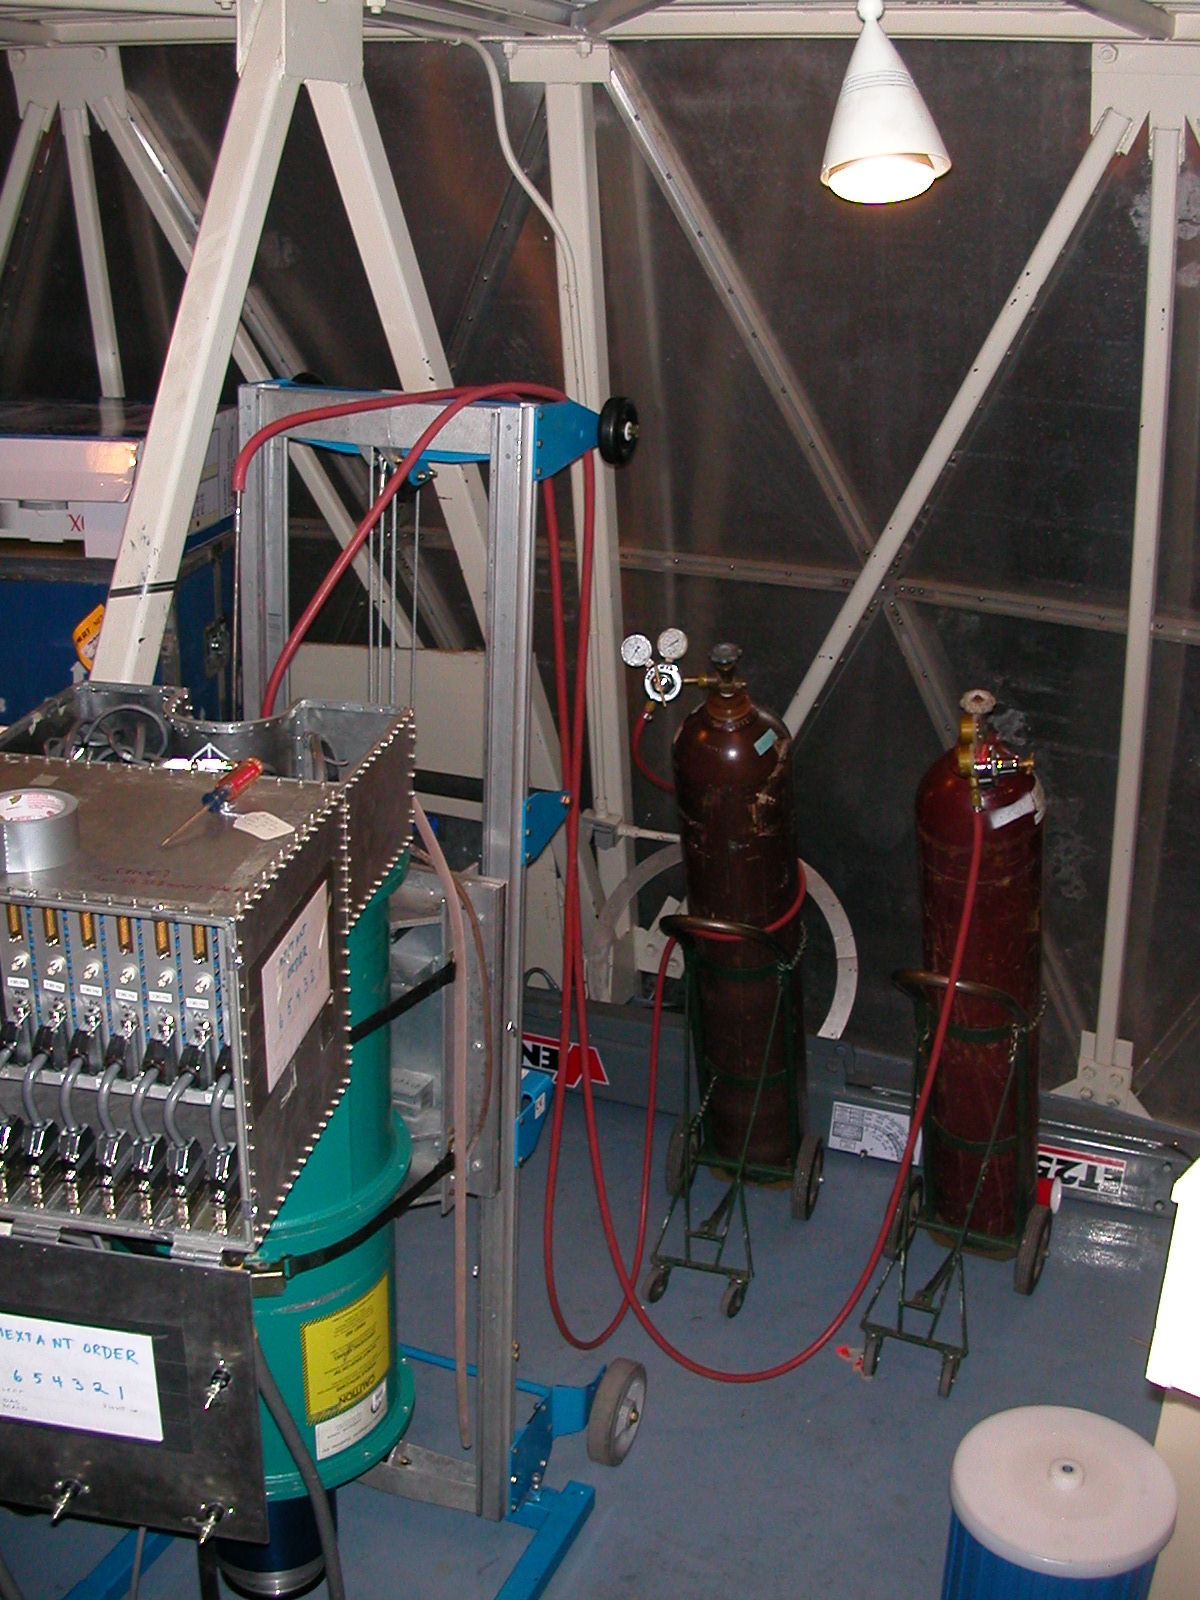
To make a long story short, after dumping or blowing out the cryogens,
warm the dewar with He and N2 gas up to > 77K, then use compressed
air
to bring the dewar to room temperature. Make sure to check the
instructions on the PumpingOutVentingCoolingWarming
page. The
two following pictures illustrate both cases:
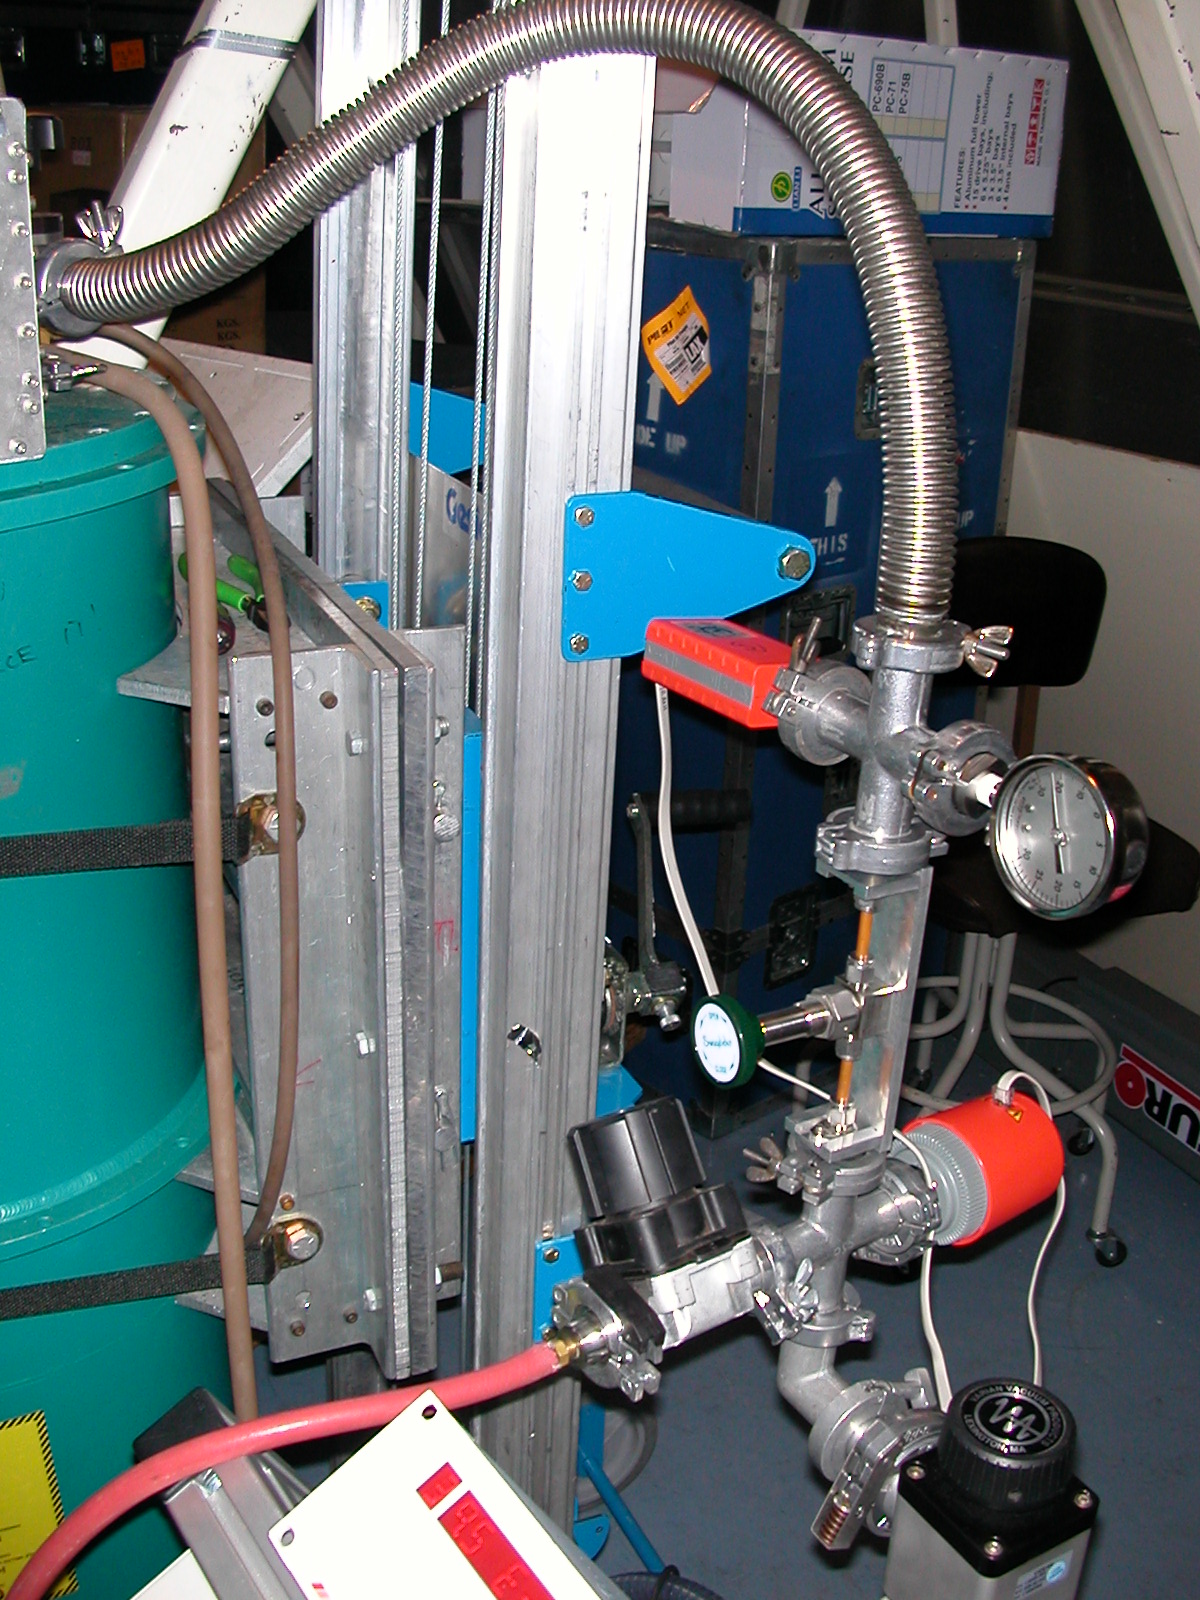
Follow instructions on the PumpingOutVentingCoolingWarming.
Check out the plumbing with the pictures below.
Place the pieces of eccosorb used for the RF shielding in a labelled
plastic bag. Place it on the desk in Bolocam's room on the third floor.
Please ensure that everything that belongs to Bolocam is put away to
their appropriate
locations. It will save a precious time for the next users. Check with
the contact person if unsure where to put things away.