DSOS Users Procedure
Melanie Leong, November 26, 2007
Hiroshige Yoshida, September
13, 2011
1 Flow to the DSOS Heat Exchangers
- Open the dome's shutter. This helps the dish and Neslabs come to ambient temperature.
- To help bleed out any air in the plumbing, which restricts
coolant flow, tip the dish to a ZA of 4°. In UIP, type:
- za 4 [Enter]
- After 15 minutes, tip the dish to 45°. In UIP, type:
- za 45 [Enter]
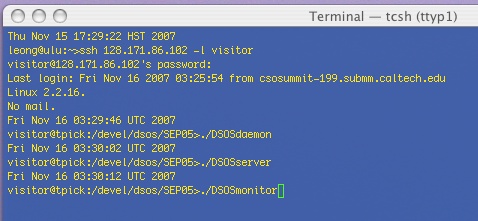
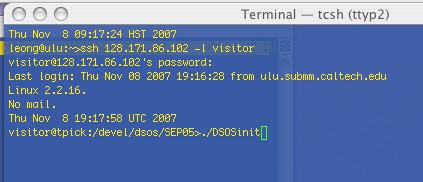
2 Login to tpick as visitor
Log in from a computer that is not prone to crashing! I usually use my own laptop. The Controller's computer name is tpick.- Open an xterm shell
- ssh 128.171.86.102 -l visitor
- Password is on the wall next to control room whiteboard.
3 Initialize and Create the Night's Baseline Setting
Initializing should be done with the dome open at least 1 hour and after sunset, dish ZA = 45°.- Activate the daemon. Type:
- DSOSdaemon [Enter]
- Activate the remote server for SHARCII IRC. Type:
- DSOSserver [Enter]
- Start the SHARCII client and server - see SHARCII instructions.
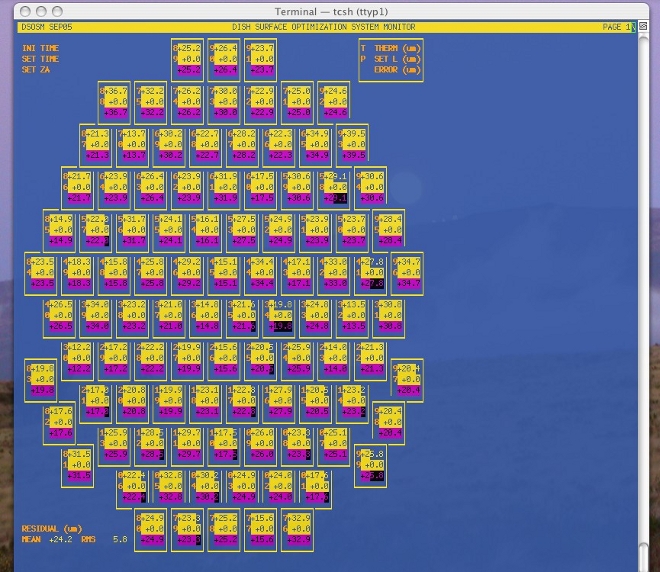
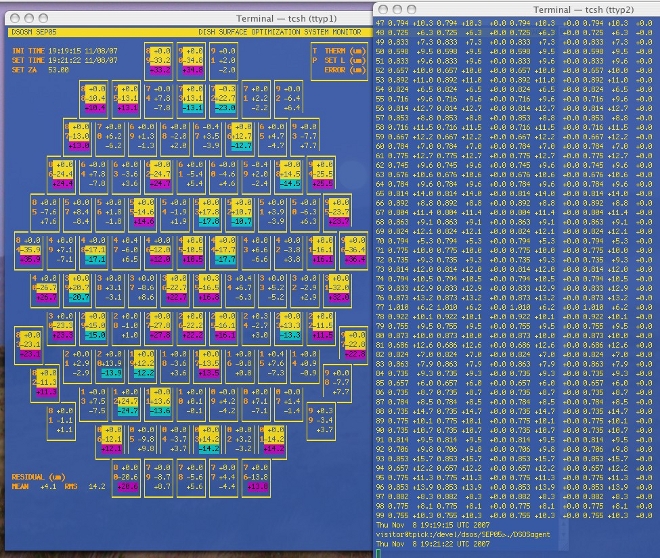
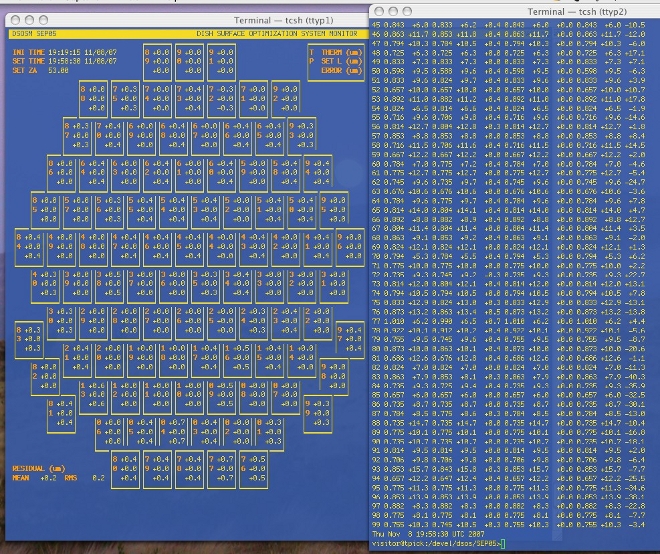
- If you would like the DSOS status monitor displayed, bring
up a terminal and enlarge it to accommodate the picture to be
displayed. Type:
- DSOSmonitor [Enter]
- Initialize - execute this at the beginning of your
observation run. Open a second terminal. Type:
- DSOSinit [Enter]
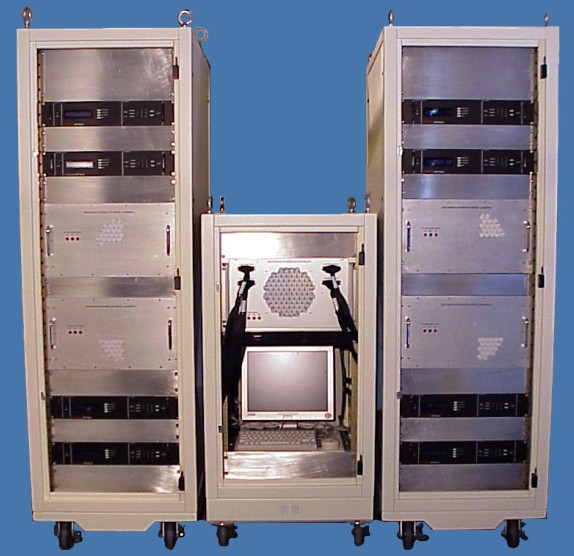
4 Power to the Driver Amplifiers
- Turn on the power supplies, in pairs, via their front
panel switches on the left.
- Switch the DSOS status monitor display to the power supply
status page. Within the terminal running the status monitor,
type:
- p

- Program the power supplies and enable the outputs. Type:
- DSOSpower on [Enter]
5 Let the Dish System Settle for about 15 minutes
The power supply displays should reflect the current demands, cycle, and then settle after 15 minutes depending on the amount of initial toothpick displacements. The settled current values are about 9 Amps or less for both +15 Volt and -15 Volt power supplies.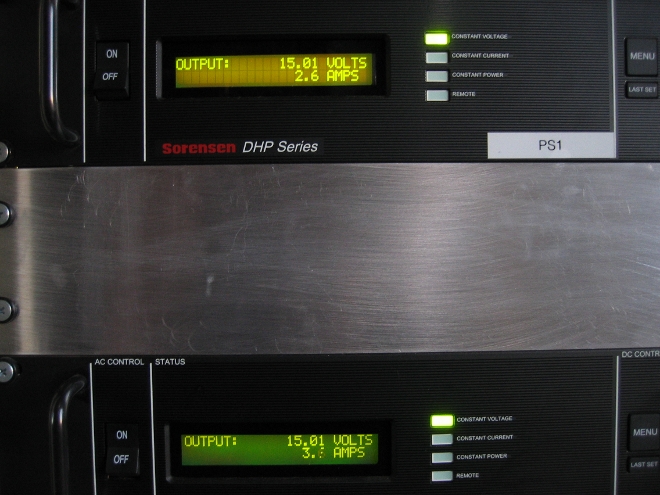
6 During Your Observation Night
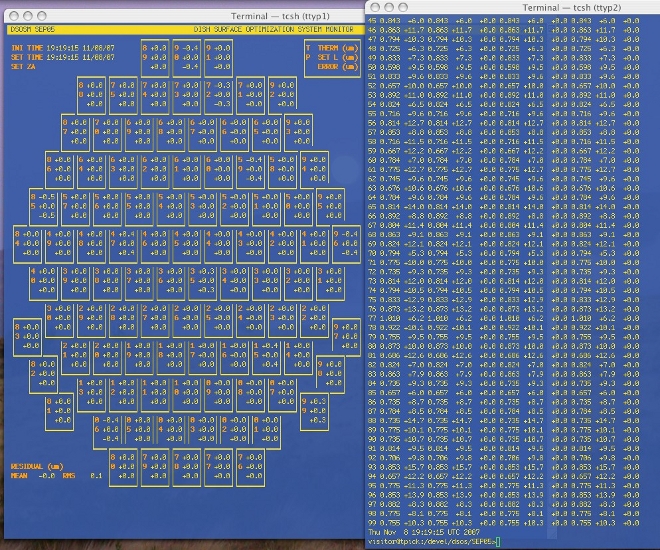
- Switch the DSOS status monitor display back to the dish
status page. Within the terminal running the status monitor,
type:
- 1
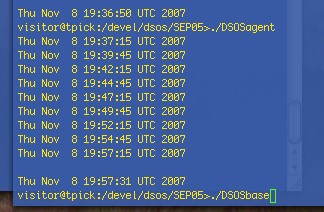
- The following command gets the present ZA from the antenna
computer and sends commands to specific toothpicks. New command
values are sent and their settings logged every 2.5 minutes in
agent.log. Type:
- DSOSagent [Enter]
- At the end of your night, stop the DSOS agent from
running. Type:
- [ctrl] c
- Set the DSOS back to its baseline value. Type:
- DSOSbase [Enter]
- You can watch the channels acquire on the DSOS monitor
shell. To stop the monitor from displaying, in the DSOS monitor
shell, type:
- [ctrl] c
- After 10 minutes, power down the (8) DSOS power supplies.
Leave everything else on. First disable the power supply outputs
by software. Type:
- DSOSpower off [Enter]
- Log out of tpick.
7 * Check the System periodically * to make sure everything is powered up and running correctly.
- Are thermistor and/or D/A values reading 0.00? The computer will put out a notification if this occurs.
- Is coolant not flowing to the Dish and the System racks?
- Any Neslabs, pumps, and rack fans are not running?
- Any Driver power supply pairs too one sided? Example:
-
PS1 = 7V / 75.0A
PS2 = 15V / 0.00A
A Some Solutions
A.1 IF You Want to Rebaseline
If you initialized the system's thermistors during the day before the sun has set, reinitializing 1 hour after the sun has gone down would be a good thing to do. It is NOT recommended that you perform this often.- Command the DSOS to go back to its original reference.
Type:
- DSOSbase [Enter]
- After 10 minutes, turn off the Driver power supplies.
Type:
- DSOSpower off [Enter]
- Move the dish to a zenith angle of 45°. In UIP,
type:
- za 45 [Enter]
- Wait 40 minutes for the dish to come to ambient temperature.
- Go to step 3 of this procedure and start over again.
A.2 Computer Crash
If the computer you are running the DSOS software from crashes:- Shut the power supplies down.
- Control-c and log out of tpick if possible.
- The Initialization procedure of tpick should be posted on the bulletin board.
- Reboot, or better yet, find another computer to run tpick from.
- Start from step 2 of this Users Procedure.
A.3 Neslabs
In case the alarm sounds on any of the Neslabs on the 3rd and 4th floors:- ADD displayed: Fill with distilled water to the LOWER fill line in the unit's bath.
- Error 54 displayed:
- Press the up and down arrow keys on the front panel simultaneously and hold for 10 seconds until the alarm turns off.
- Press the computer control button (picture of a keyboard on the button) so that the light is off.
- Power the Neslab off.
- Power the Neslab back on. Alarm and error message should be gone.
A.4 Glycol Pumps
In case any of the 4 pumps to the dish manifolds fail, usually no or low pressure reading on meters, and the pump is hot to the touch:- Turn off the Driver Racks' (8) power supplies.
- Close the manifold valves to the associated pump. There are 3 valves for each pump, turn them clockwise until the valves are closed.
- Shut the power off to the pump by either turning its associated power strip off, or by unplugging the pump from its power strip.
- Follow steps 6c-6e, and 6g. Do not use the DSOS until pump is repaired or replaced.
- VERY ESSENTIAL STEP - Notify CSO staff which pump has failed, and at what time. Failure to do this will keep the DSOS from operating while you are here.
File translated from TEX by TTH, version 4.03.
On 21 Feb 2012, 13:19.