Daily Observing Tasks

  1. Quick Links
  2. Daily Startup Instructions
    1. Quickie version (for experienced observers):
    2. Complete version for novices
  3. Daily Shutdown Instructions
    1. Quickie version (for experienced observers):
    2. Complete version for novices
  4. Cryogen Fill Instructions
  5. IV Curve Skydip Instructions
  6. What to check while observing
  7. Revision History
Back to BolocamWebPage


Quick Links

Generic problems -- try the Troubleshooting page.

If you have to restart any of the computers, instructions for recovering are available on the Troubleshooting page.  If you intentionally reboot the computers before observing and need to re-mount the various disks, see the instructions on Disk Cross-Mounting and Soft-Linking on the DataHandling page.

AnalysisSoftware
page.


Daily Startup Instructions

Quickie version (for experienced observers):

Complete version for novices

For an explanation of the data acquisition, the rotator, the incoming data streams, and the analysis programs, see the Data Acquisition, Rotator Control, and Data Handling page and the Analysis Software page.
  1. If they are still at the summit, check with day crew to see if it is ok to start moving telescope.

  2. Pull all the red telescope STOP buttons so that you can move the telescope and open the dome.

  3. Open the dome ~1 hr before you would like to start observing to cool the dish.  If necessary, coordinate this with the day crew.  Make sure you are pointed in a safe direction. You only need to open the dome to ~50%. Note in the observing log the time that you open the dome and the fraction.  Make sure there is no sun on the primary or secondary.  When you open fully later, do not allow the dome to open all the way; it can sometimes jam open in that position.  Open all the way and then close it a little bit if you don't know how far to open it.

  4. Log into kilauea as bolocam.  (Use the first desktop of the right screen -- this will keep things organized nicely.)  The password is in the white Bolocam Manual binder. 

    At the prompt, type UIP to start UIP. Accept the defaults for the login questions. At the UIP prompt (UIP>) type INSTRUMENT BOLOCAM and immediately check that the antenna computer monitor shows POINTING BOLOCAM and the appropriate focus parameters.  Current values (as of 2010/02):


    Also, check that the FOCUS MODE is STEALTHY.  If it is not, you can fix this with the command

    UIP> FOCUS /STEALTHY

  5. Check that the secondary chopper is not on.  On the antenna display, look for the BSW field and make sure it says NOT CHOPPING.  If it is still on, type in UIP the command

    UIP> SECONDARY /STOP

    If you see a CHOPPER ERROR message on the antenna display, then you need to reset the chopper controller in the sidecab.  Go into the sidecab (don't forget to ground yourself).  In the instrument rack at the far wall (picture), you will find the chopper controller (picture).  There are two buttons labeled STOP and GO (picture).  Press STOP first, then GO.  The CHOPPER ERROR message should go away.

    If after stopping the chopper the Antenna Computer screen does not update the chopper information to NOT CHOPPING, it is likely that the monitor process on the antenna computer died. From the UIP window issue the command

    UIP> ant/restart=3/nosync

    to reset the display (cf. the CSO troubleshooting page ).

  6. Check that the tertiary is in out of the way and/or use the UIP command

    UIP> TERTIARY /CASS

    to move it out of the way.

  7. Check that the fridge cycle has completed or is near completion (UC Fridge GRT stabilized at < 300 mK; refer to example cycle).  You may not move the telescope from the ZA = 55 fridge cycle position until the 3He pump is < 10K.  Note: if pumping on LHe bath replace steps 5 and 6 with Pumping on the LHe Bath.

  8. If necessary, do cryogen fills.  (The day crew will already have done this for most observers.)  Don't forget to press a red telescope STOP button before starting the fill, and to pull the STOP button after you are finished.

  9. Check that the mirrors are free of obstructions, and the tertiary mirror is out of the way.   This is easiest to do at low ZA, ZA = 10 for example.  In UIP type

    UIP> ZA 10

    to move the telescope to ZA = 10.

    You can see inside the optics box by removing one of the side covers using the thumb screws; see the picture of the access covers.  This is what the unobstructed mirrors look like: first flat, second flat, and ellipsoidal tertiary.  Wipe away any dust and debris that has accumulated with a kimwipe and alcohol if necessary.  (Kimwipes and ethyl alcohol are available in the AOS lab if not already on the alidade platform.)

    If you stick your head into the box, you should be able to see the dewar window.  Be careful to avoid knocking the mirrors while doing this.  If you cannot see the white foam window, you should see it covered by a large aluminum cap.  Remove the cap by simply pulling it off (it is held on by spring loaded pins).  If you take the cap off, leave it outside on the alidade platform so it does not warm up!  

    If the eccosorb shield is completely in place, you can check that the flip mirror is out of the way by sticking your head inside one of the optics box access ports and looking out along the optical path, to the first flat mirror and up through the optics box input port to the secondary.  If you can't see the secondary, then the flip mirror may be in the way.  Pull off one of the front panels of the eccosorb shield to check (see the pictures on the Eccosorb Shield page for details on what the shield looks like partially deconstructed).

    If the eccosorb shield is not in place, or you have removed one of the panels to check, you can see directly whether the flip mirror is in the way.  Here is what the flip mirror looks like when it is out of the way: front, back.  Once you  have confirmed the flip mirror is out of the beam, see the Eccosorb Shield page for details on setting up the eccosorb shield.

  10. Rotator:

  11. Make sure no cables/hoses have come loose or are binding anywhere.  Some pictures of how the cables and dewar typically look are provided here, here, and here.

  12. Start slewing over to your first source and finish opening the dome -- this will take a long time, it can be done while the remaining steps are happening. You can use the OBSERVE command to do this, or just type in the AZ and ZA commands to get you close. Leave one person dedicated to ensuring no sun problems. Sun should not be allowed to hit the back of the primary or the secondary mirror. Sun is allowed to shine on the back part of the secondary structure (the white part), though be careful because the sun may move DOWN the structure as you observe if the source is rising too quickly.  In step 15, you will start the webcam utility, which will let you monitor the sun exposure from the control room.

  13. DAS computer prep.  The DAS computer sits in the black Bolocam racks on the third floor.  Here is a picture of it.  (Note that you can access the DAS computer remotely using Remote Desktop Connection if you prefer; see the instructions; you can use ahi.submm.caltech.edu, the PC in the computer room, or you can use a remote desktop client on kilauea or any of the other linux machines).  If you see a login prompt, log in as bolocam; the password is in the white Bolocam Manual binder.

  14. Start the various programs on allegro (rotator controller, encoder log writer, DAS file copier, pointing log copier):

  15. Go back upstairs to the DAS computer (or do this using remote access).  Start the DAS by clicking on the square button with an arrow in it that is right under the BCAM_DAS_YYYYMMDD menu bar (you know, File, Edit, etc.).  Wait until you see data (will require up to 1 minute).  You can select the channel to be plotted on each graphs using the menu.  As a reference the DC lockin channels should be ~few volts and bit-limited.  These are channels 32-55 (hex 1), 96-119 (hex 2) and so on, the channels whose mod 64 is 32 to 55.  The bias monitor DC lockin channels are also good to look at because they won't drift due to base temperature or loading changes or due to sky noise.  They are channels 377-382.  The instantaneous bolometer signals for all the working bolometers are also plotted in map form in the two square plots on the right.  After your checks are done - unless you were remotely connected to the DAS computer - turn off the monitor, all lights inside the dome, and go back to the control room.

  16. If you are observing during daylight hours, you will want to use the webcam utility.  It shows the webcams that view the secondary and the back of the primary.  It updates more quickly than the webcam display on the CSO web page.  To start it, type webcam & in the SSH client to allegro that you started above.

  17. Start the orrery so you can see easily where your sources are and where you are in local coordinates.


  18. Go to UIP and start your observing.  Sheets for logging your observations are available from the main BolocamWebPage.

  19. Start merging, slicing, and automated analysis:

    1. Start a new terminal window on kilauea in the third desktop of the right display.  Don't forget to use the third desktop -- otherwise you will suffer from window chaos. 

    2. Type start_merge YYYYMMDD in the terminal window you opened in the third desktop of the right display.  A window labeled merge should appear and you should see it start updating as it merges the pointing, rotator, and DAS files.

    3. Type start_autos in the terminal window you opened in the third desktop of the right display.  Eight (yes, eight!) windows should appear.  In each window, IDL will start up and a program will start running.  These programs are:

      • slicing of merged files into single-observation files:  run_auto_slice_files

      • cleaning of pointing files: run_auto_clean_files_ptg

      • mapping of pointing files: run_auto_map_files_ptg

      • centroiding of pointing maps: run_auto_centroid_files

      • cleaning of science field files: run_auto_clean_files_blankfields

      • mapping of science field files: run_auto_map_files_blankfields

      • diagnostics on science field cleaned files: run_auto_diag_clean_files_blankfields

      • diagnostics on science field map files: run_auto_diag_map_files_blankfields

      • For instructions on monitoring these routines, see the section below.

  20. Check the status of the previous night's backups and do the second backup if necessary.  See the DataArchiving page for instructions.

  21. Try to minimize the number of additional windows you open on kilauea; the X server does not appear to be very robust and can crash just from having too many windows open.

Daily Shutdown Instructions

Quickie version (for experienced observers):

Complete version for novices

  1. Go upstairs and stop the DAS (or use remote access) by pressing the large red STOP button in the right half of the screen.

  2. Start closing the dome and tip back to ZA = 25 for cryo fills. Be careful of the sun during tip back and dome close.

  3. If the day crew is not doing cryogen fills for you, do the following:

  4. Put the window cap on the dewar.  It is spring-loaded and snaps on.

  5. If the day crew is not doing cryogen fills, start the fridge cycle, possibly with a start delay.  You can also ask the day crew to do this for you, just let them know when you want to start observing.

  6. Kill the data file copying processes:

  7. If you used the rotator, or for some reason set the rotator to a non-standard angle (i.e., neither of values specified above), you need to set it back to a standard angle for the fridge cycle.  Follow the instructions given above for doing this.  The fridge cycle will fail if the rotator angle is set to a value < 0 deg!

  8. Once the dome is far enough closed that there is no Sun danger, type STOW at the UIP prompt to move the telescope to the stow position in azimuth.  You will have to override the ZA command from STOW if you want to leave the telescope at ZA different from 30 degrees; just type IDLE and then issue explicit AZ and ZA commands using the AZ the STOW command was using.  Remember to set ZA = 55 if you want to do a fridge cycle!

  9. If merging is caught up to the end of the day, kill the merge window.  You will likely see an error message on the last file, something to the effect of

         Now crashing, satisfied...
        
    Happily aborting with error

    This indicates the program has reached the last (arbitrarily sized) file of the day.  In this case, the error message should be ignored. If the minute on which merge has crashed is before the last minute of data taken, there was a problem and you should look at the merging section of the Troubleshooting page.

  10. If the slicing is caught up to the end of the day (all but the last observation sliced), then hit c in the IDL session running the slicing to have it slice the last file.  Quit IDL and close the window once the last file is sliced.

  11. Once the other analysis routines are caught up, hit q in each of the windows to stop them.  Type exit to exit each of the IDL sessions, then kill the windows.  If problems resulting in the analysis being far from done, you should quit the sessions in the same way regardless and restart all these routines from the office at HP (you can just start them up as you do at the start of the day (see above) -- they will figure out which files have not yet been analyzed).

  12. Start a backup of the raw data. See the instructions on the DataArchiving page.

  13. Back up the /home/observer directory by logging in to allegro as observer and issuing the command

    > backup_home_disk /data00/backup

    which should create the file /data00/backup/backup_home_observer_YYYYMMDD.tar.gz.

  14. Make sure the dome is closed, the telescope is at the desired ZA, and the dewar cryogen baths are capped and have unobstructed vent lines with outflowing gas.

  15. Exit UIP, log out of any open consoles, PUSH A STOP BUTTON, turn off all the lights, lock the door, and look forward to a healthy and delicious breakfast at HP followed by a restful sleep in their fine accommodations.

Cryogen Fill Instructions

The LN hold time is > 24 hrs, so one fill per day is fine.  The LHe hold time varies, it may be necessary to fill both before and after the cycle. To do fills:

IV Curve Skydip Instructions

This is your chance to feel like an instrumentalist, flipping switches on the instrument and all that.  Note that these instructions are also in the comment lines of the IV curve skydip macro, but for some reason UIP doesn't bother to display all the comment lines.  If you want to do a DC bias IV curve skydip (experts only!), you need to do some cable swapping first.
  1. Slew to whatever azimuth you want to do the skydip at.  Presumably you are doing it in conjunction with observations of some sort of calibrator source, so you should do it at the same azimuth.

  2. Execute the macro by issuing the command

    UIP> EXEC BOLOCAM_SKYDIP_LOADCURVE.MAC

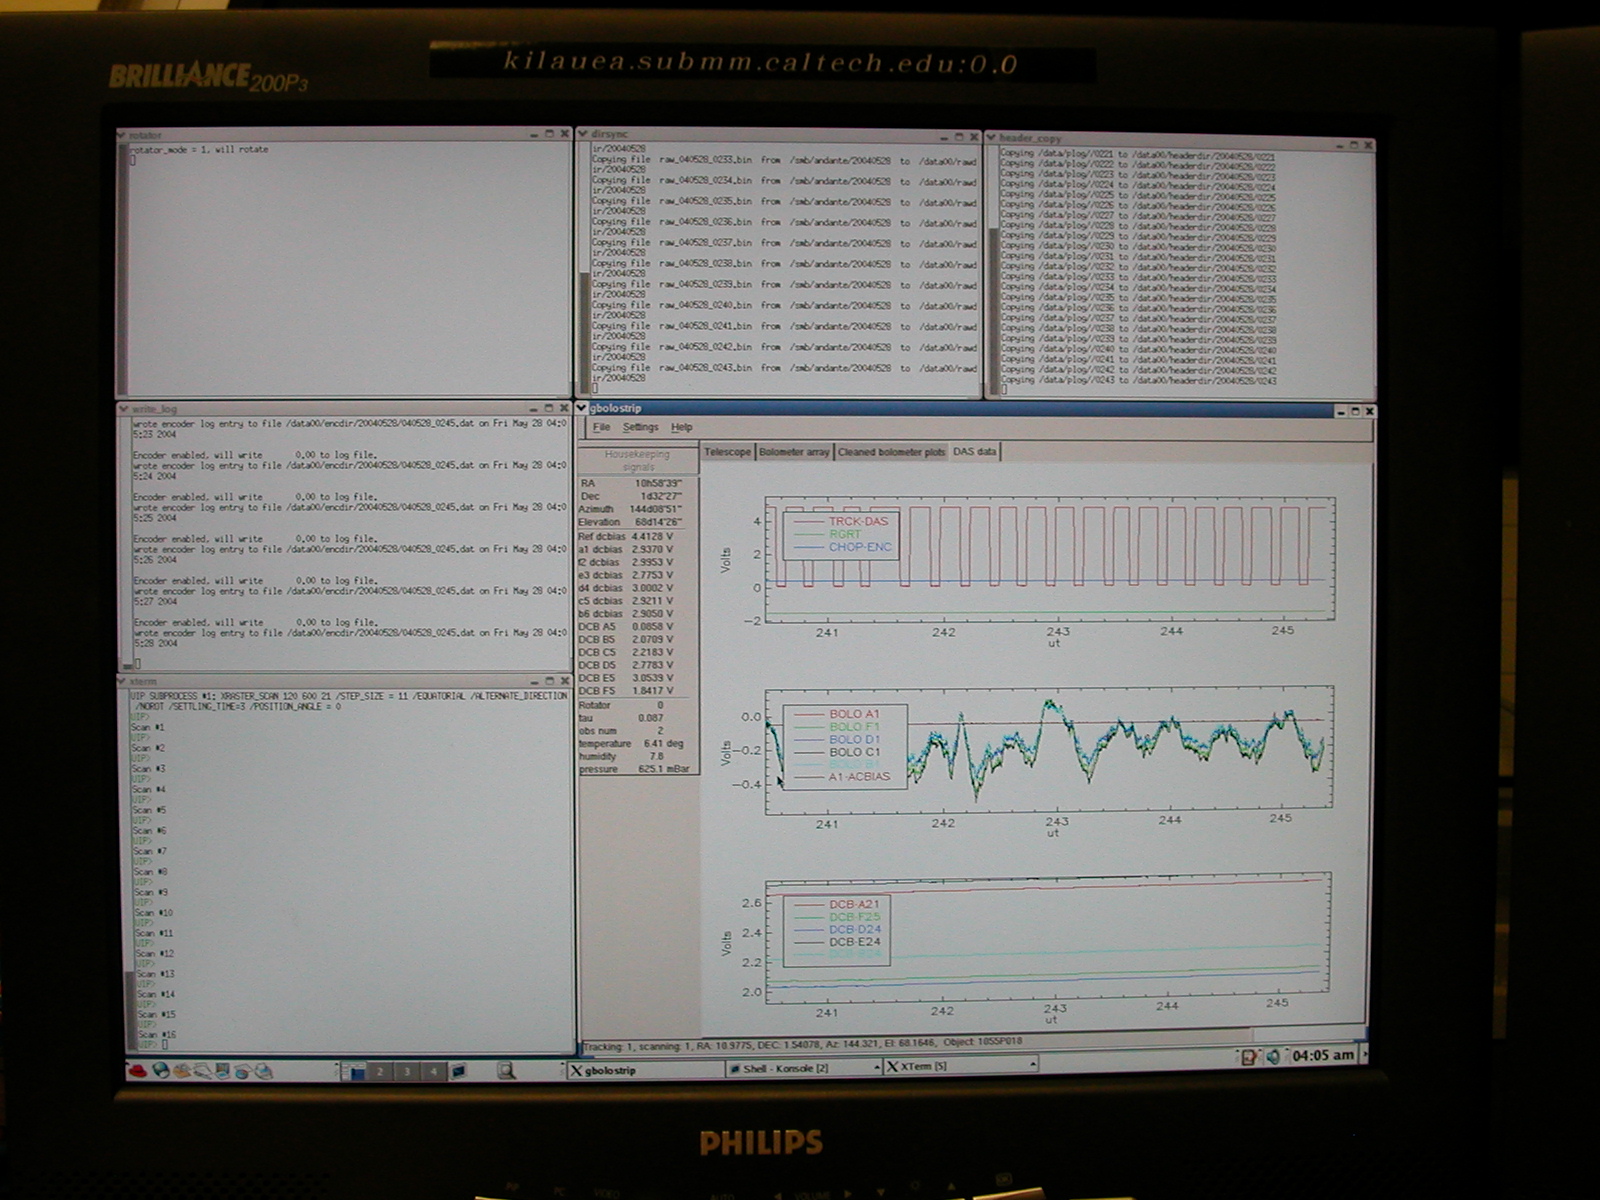
  3. Wait while the telescope slews to ZA = 5 degrees and until you see the lines appear on the screen

    C OBSERVER SHOULD GO OUTSIDE AND PREPARE FOR IV CURVE SKYDIP

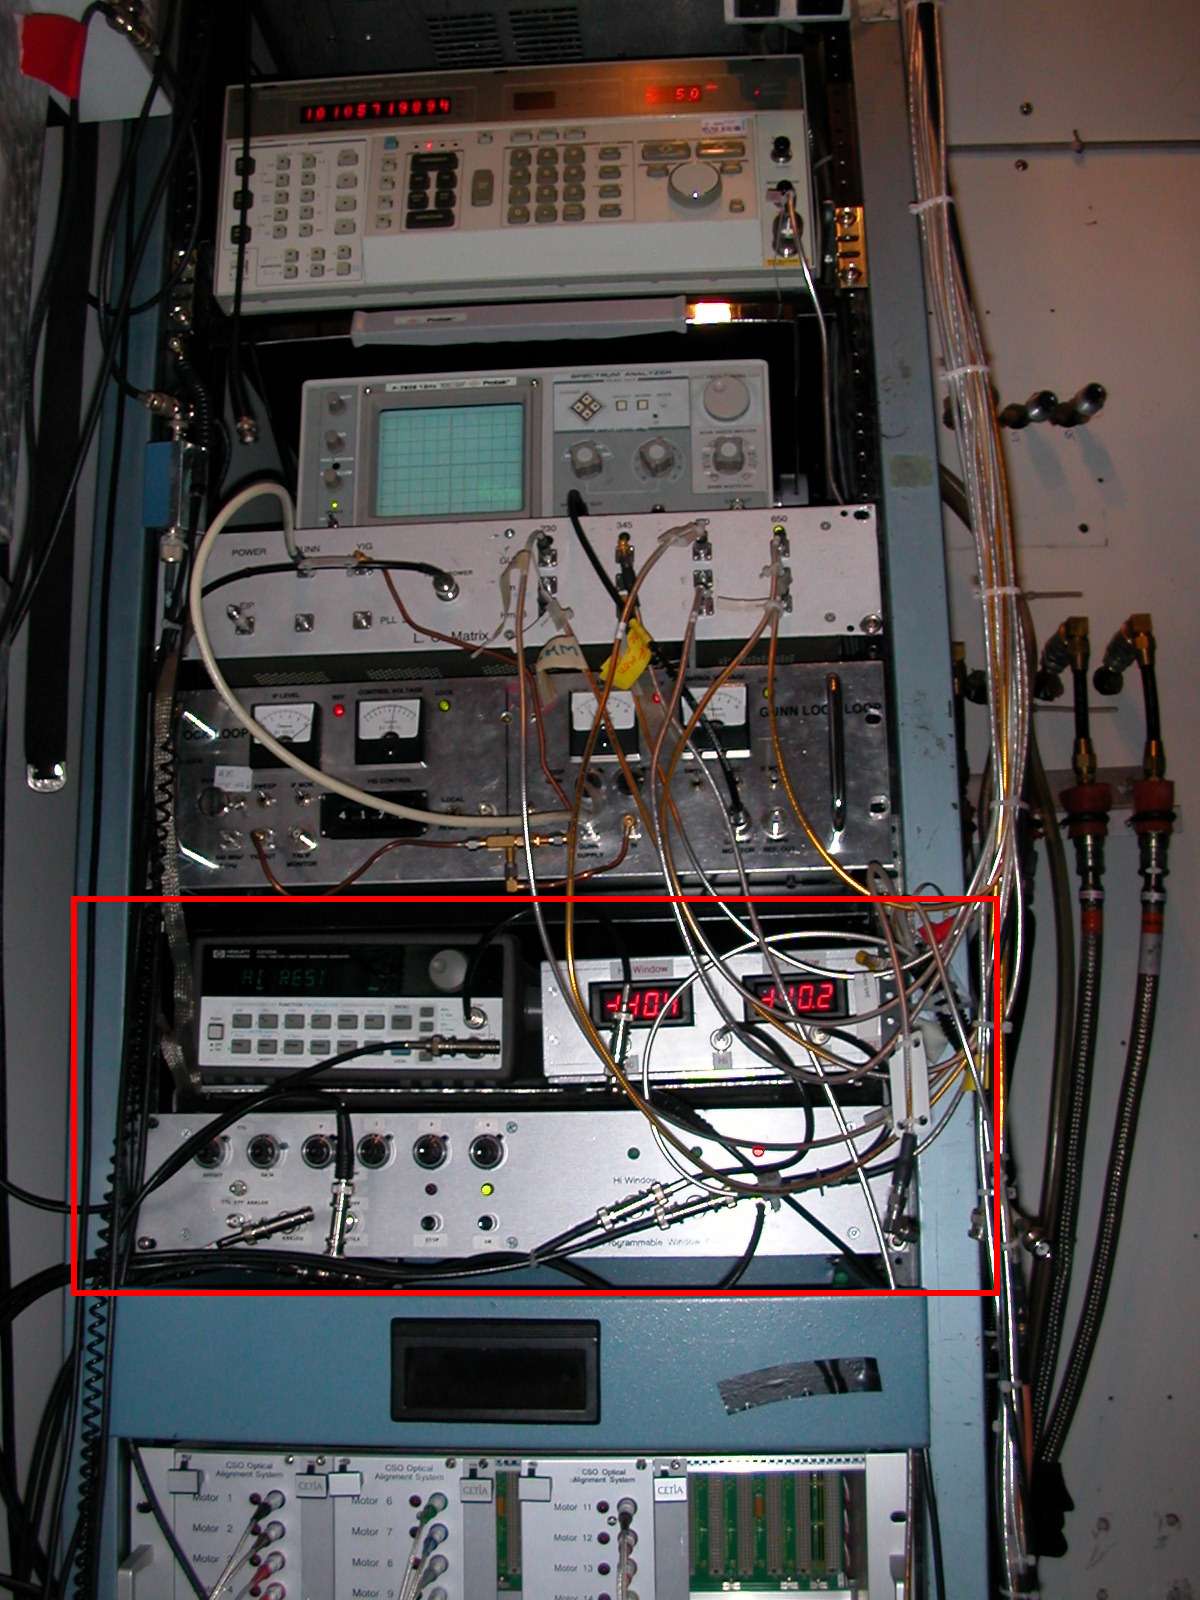
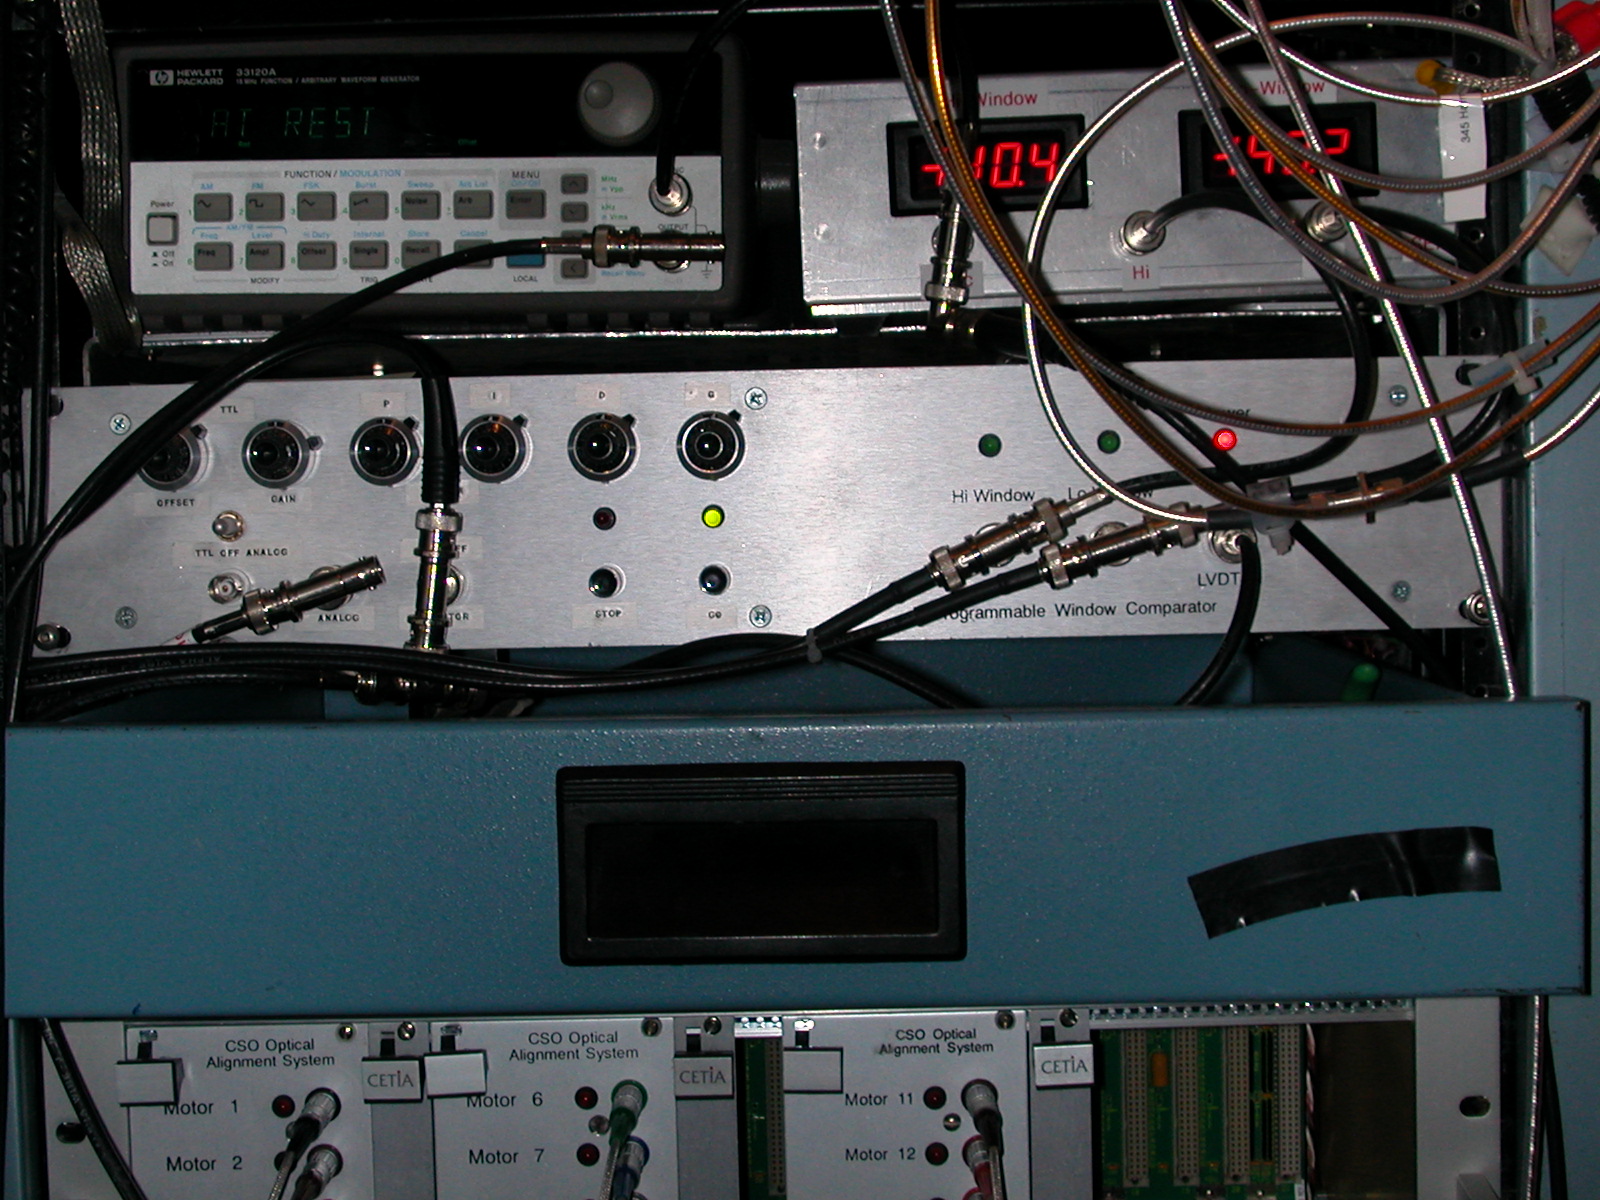
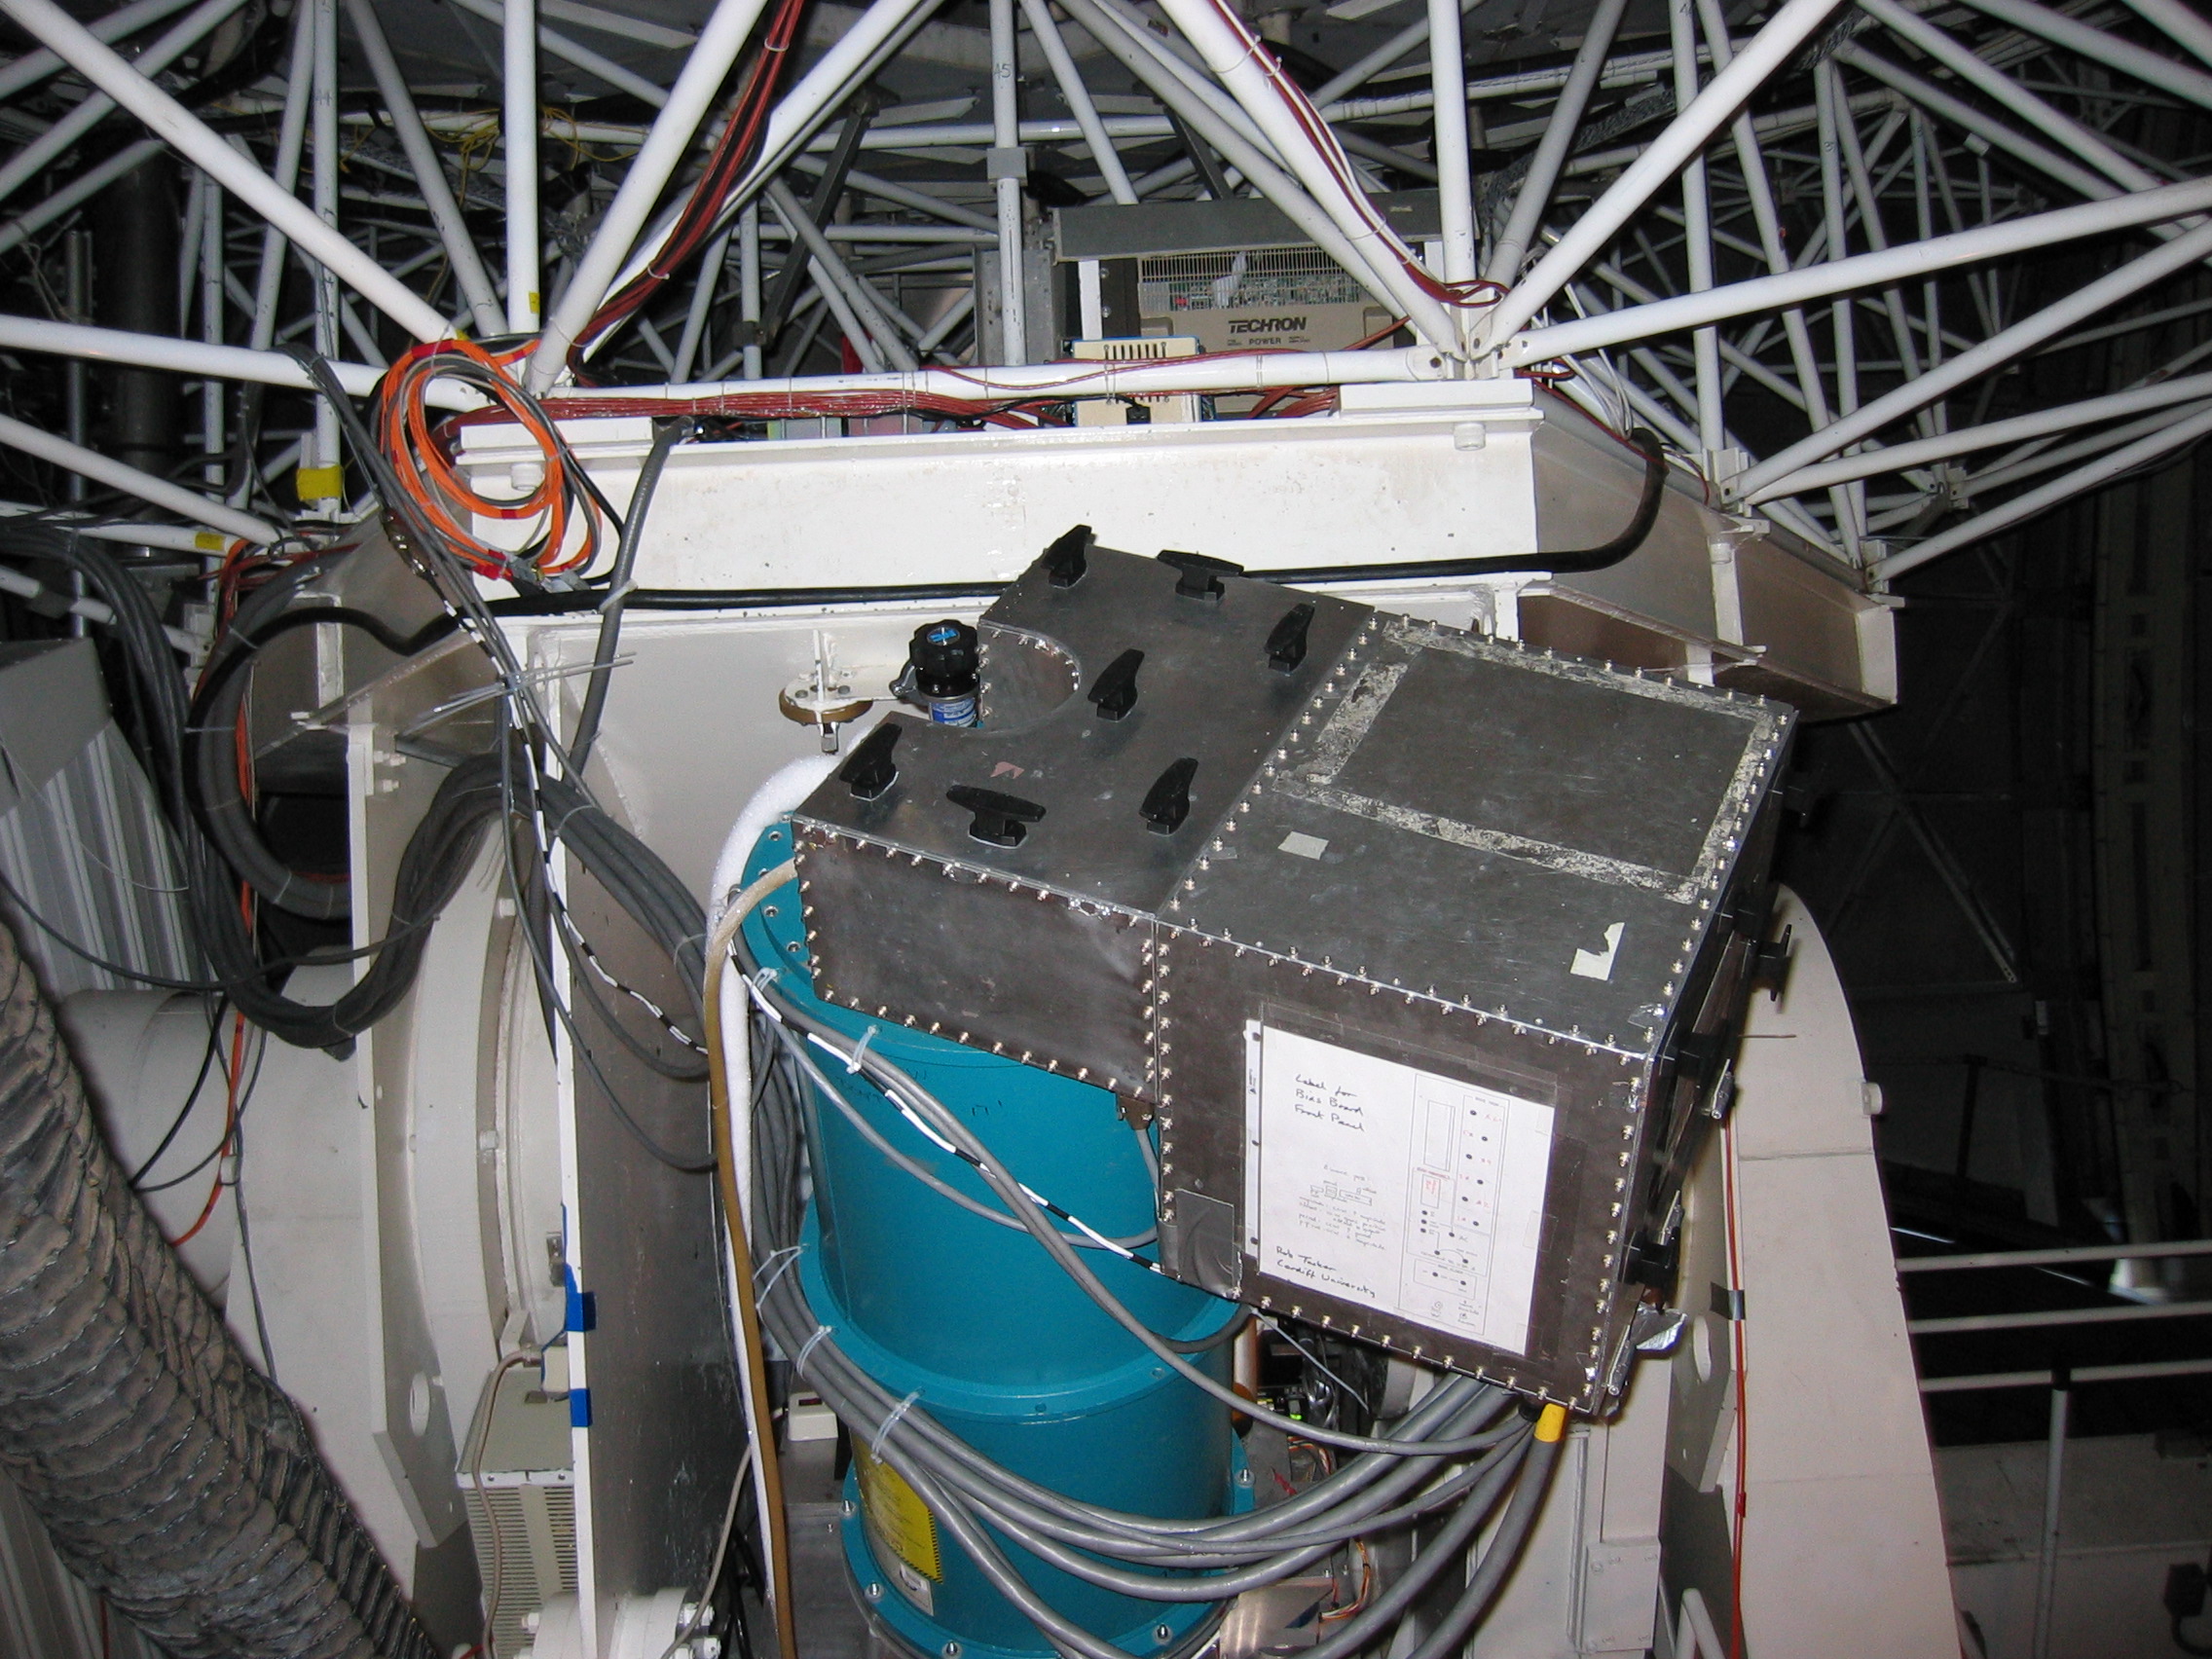
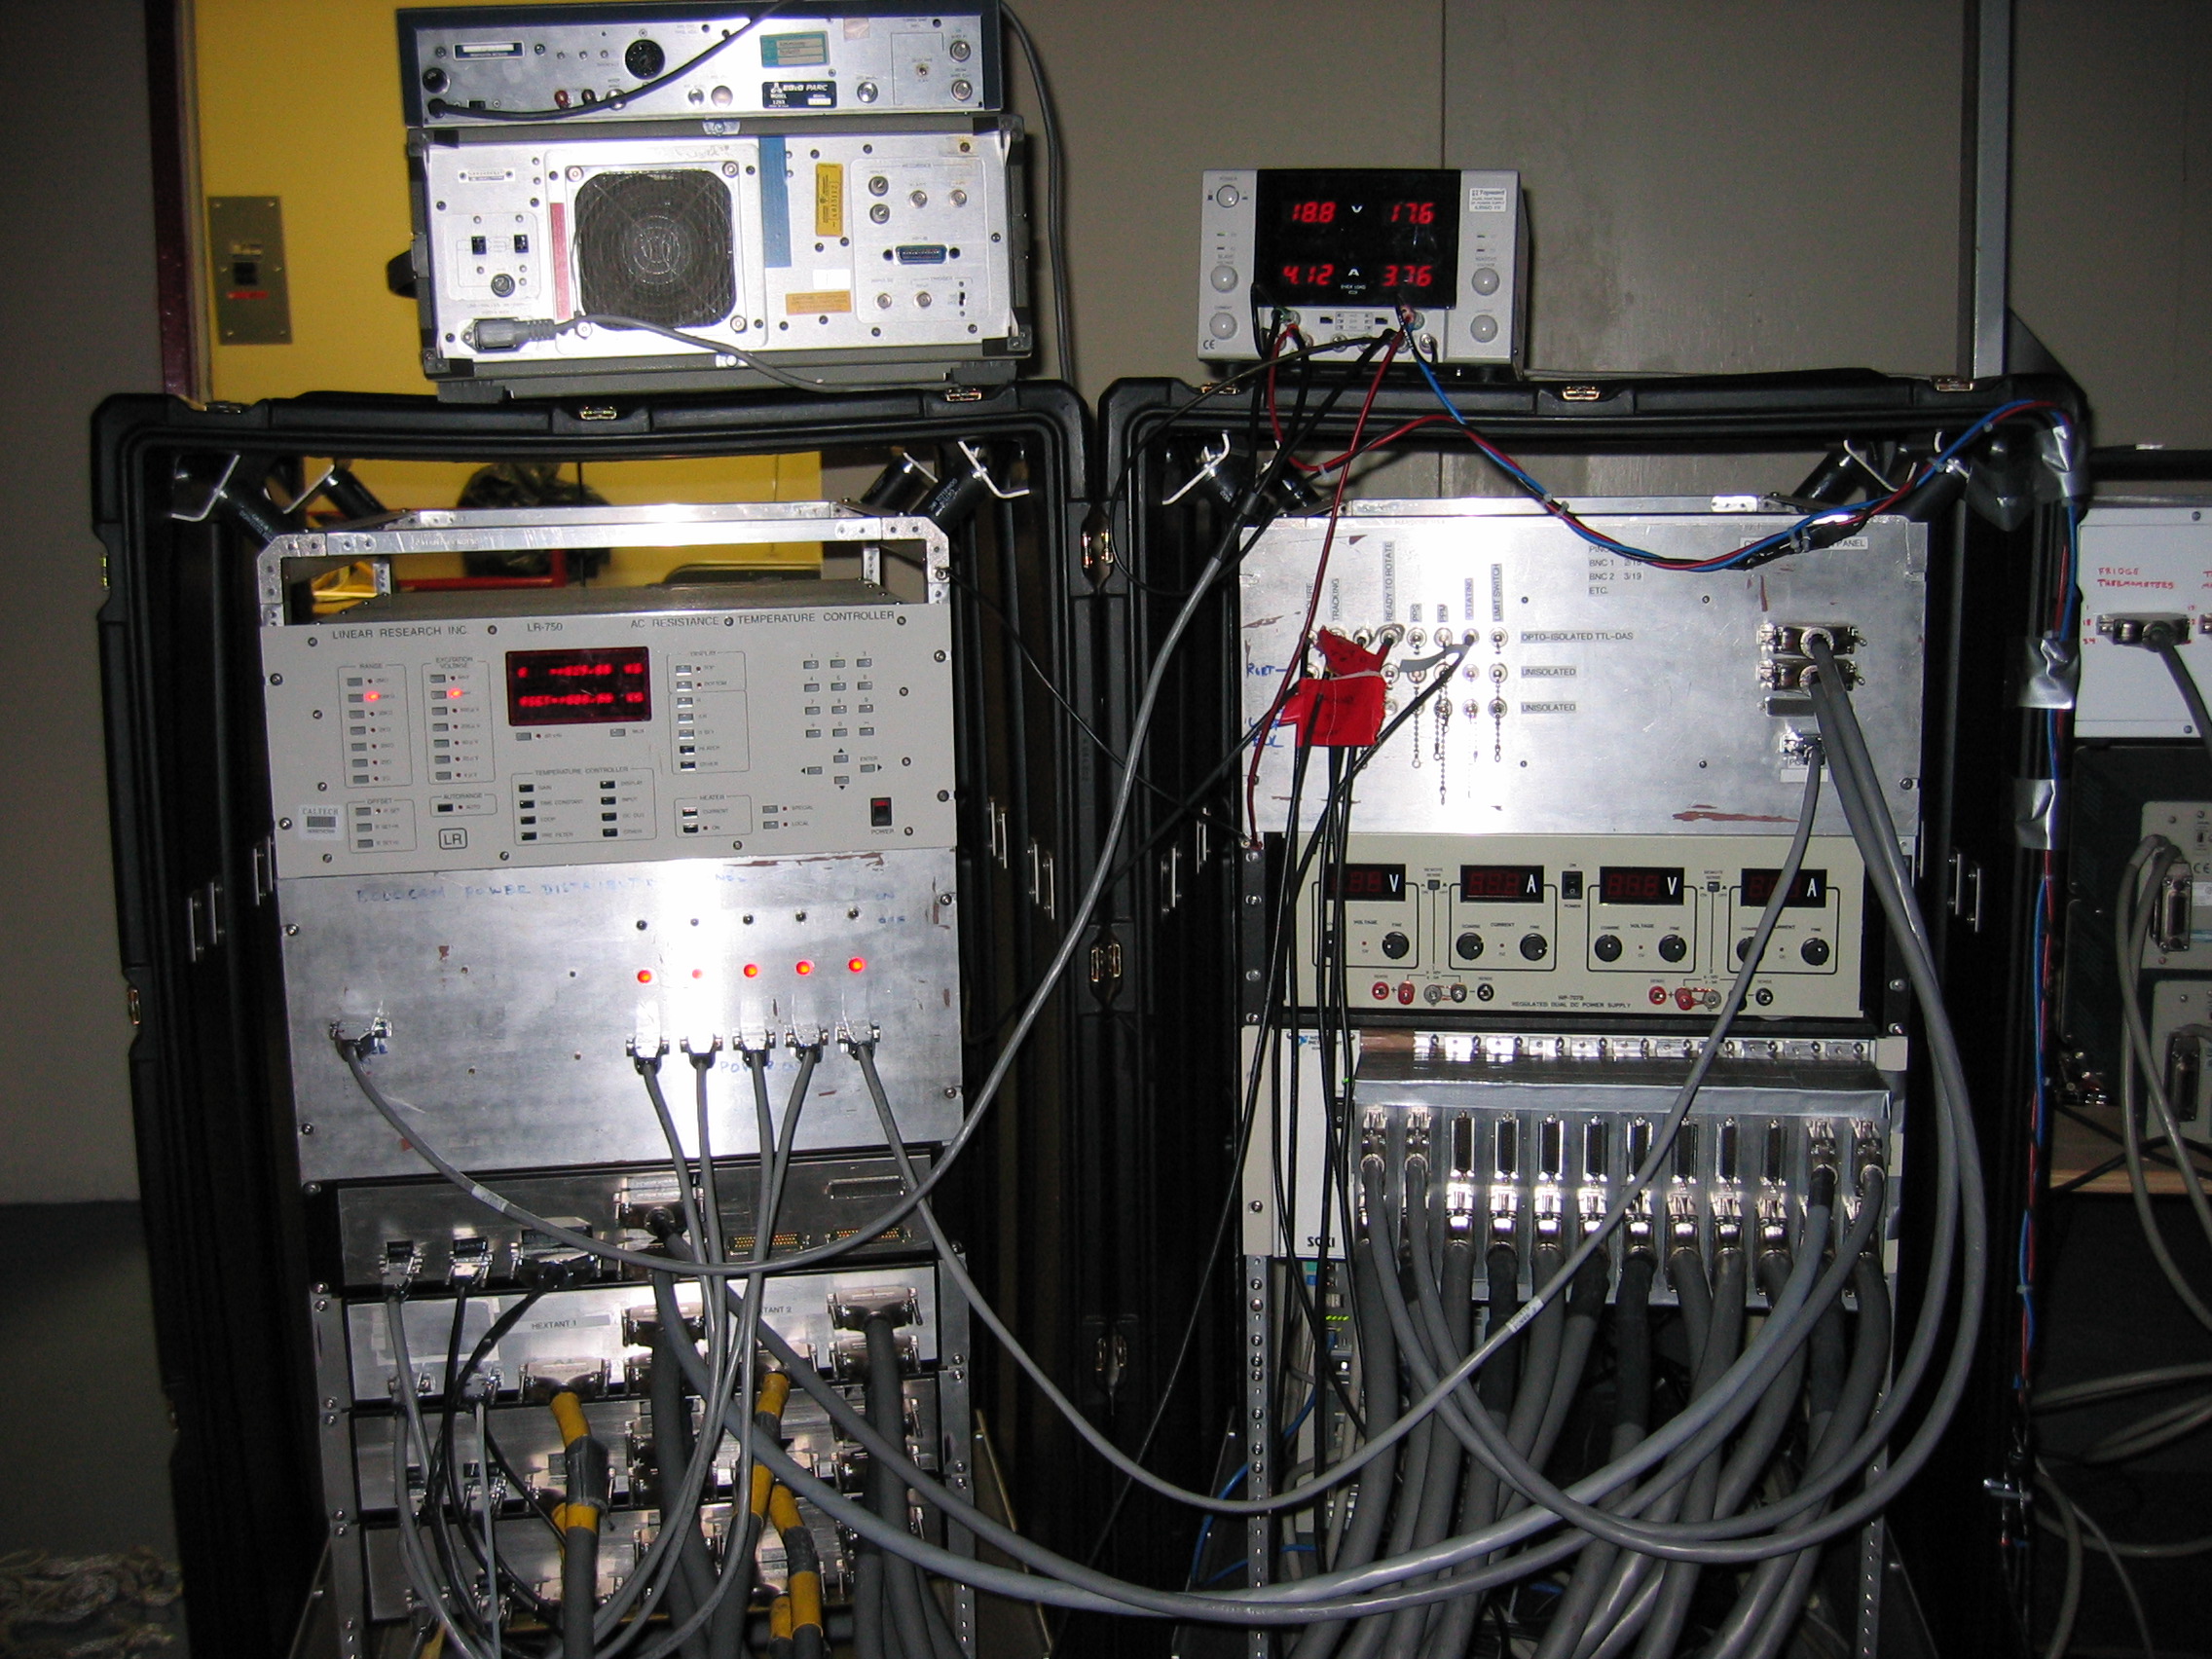
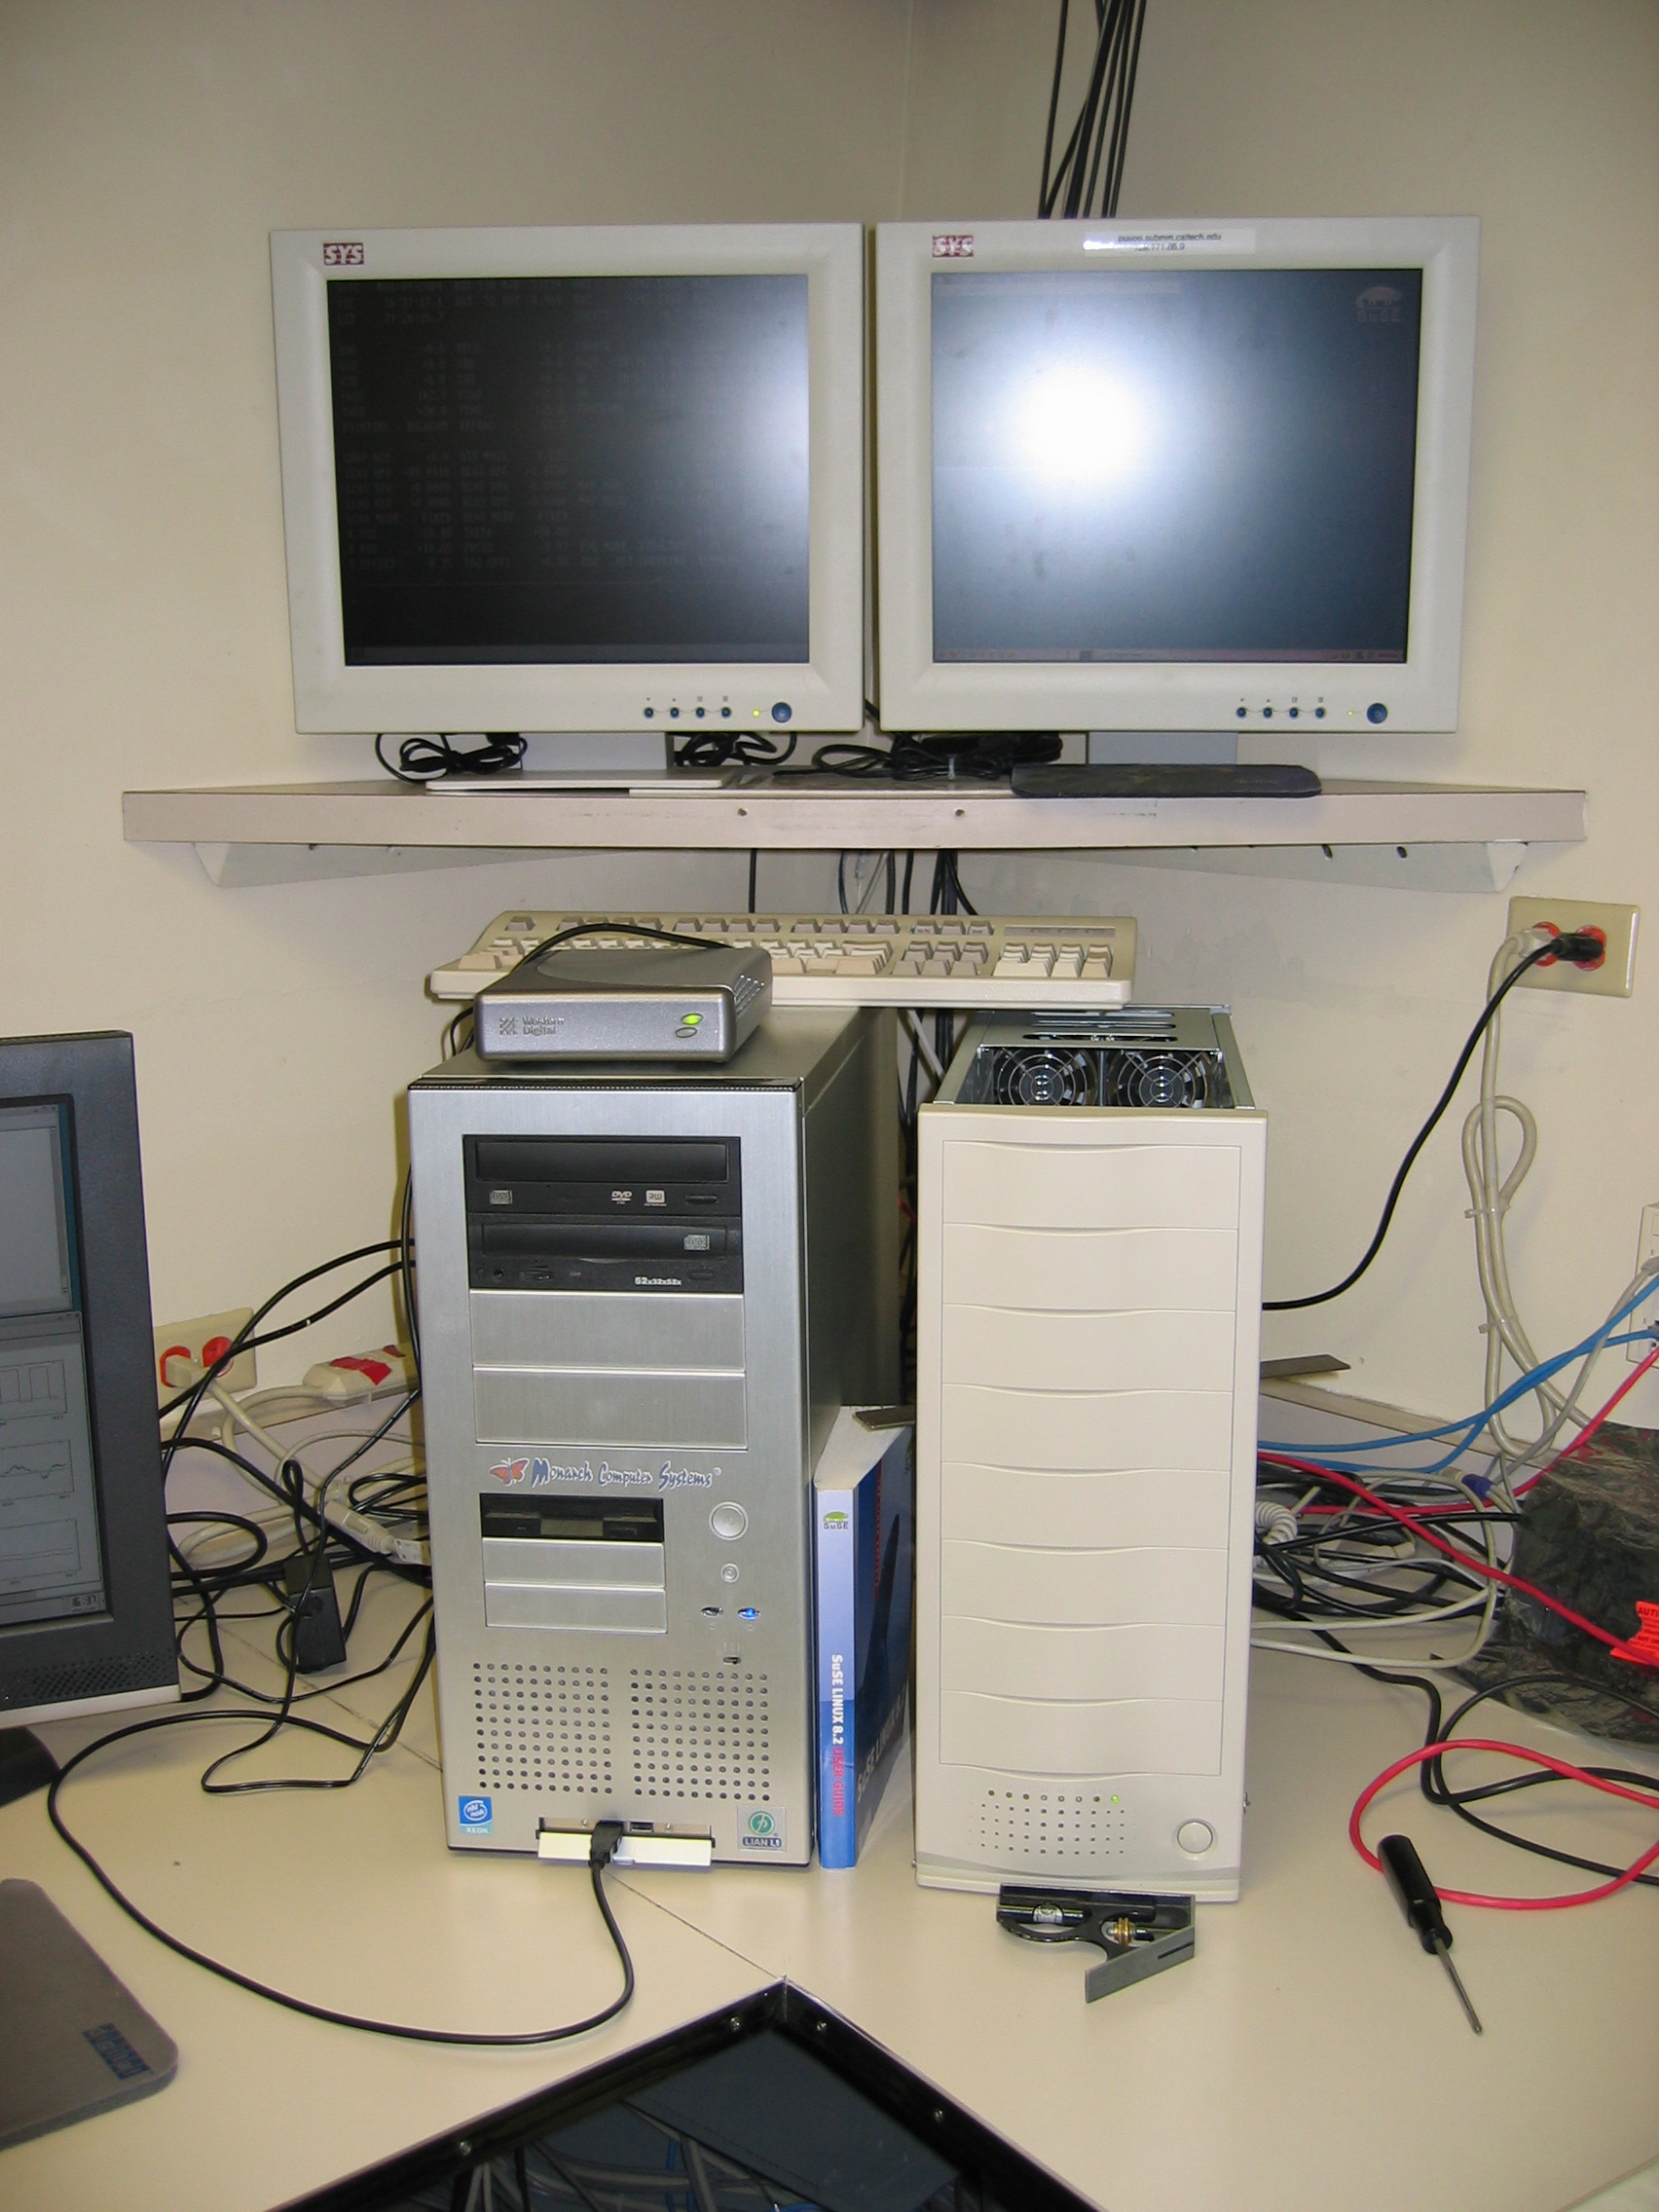
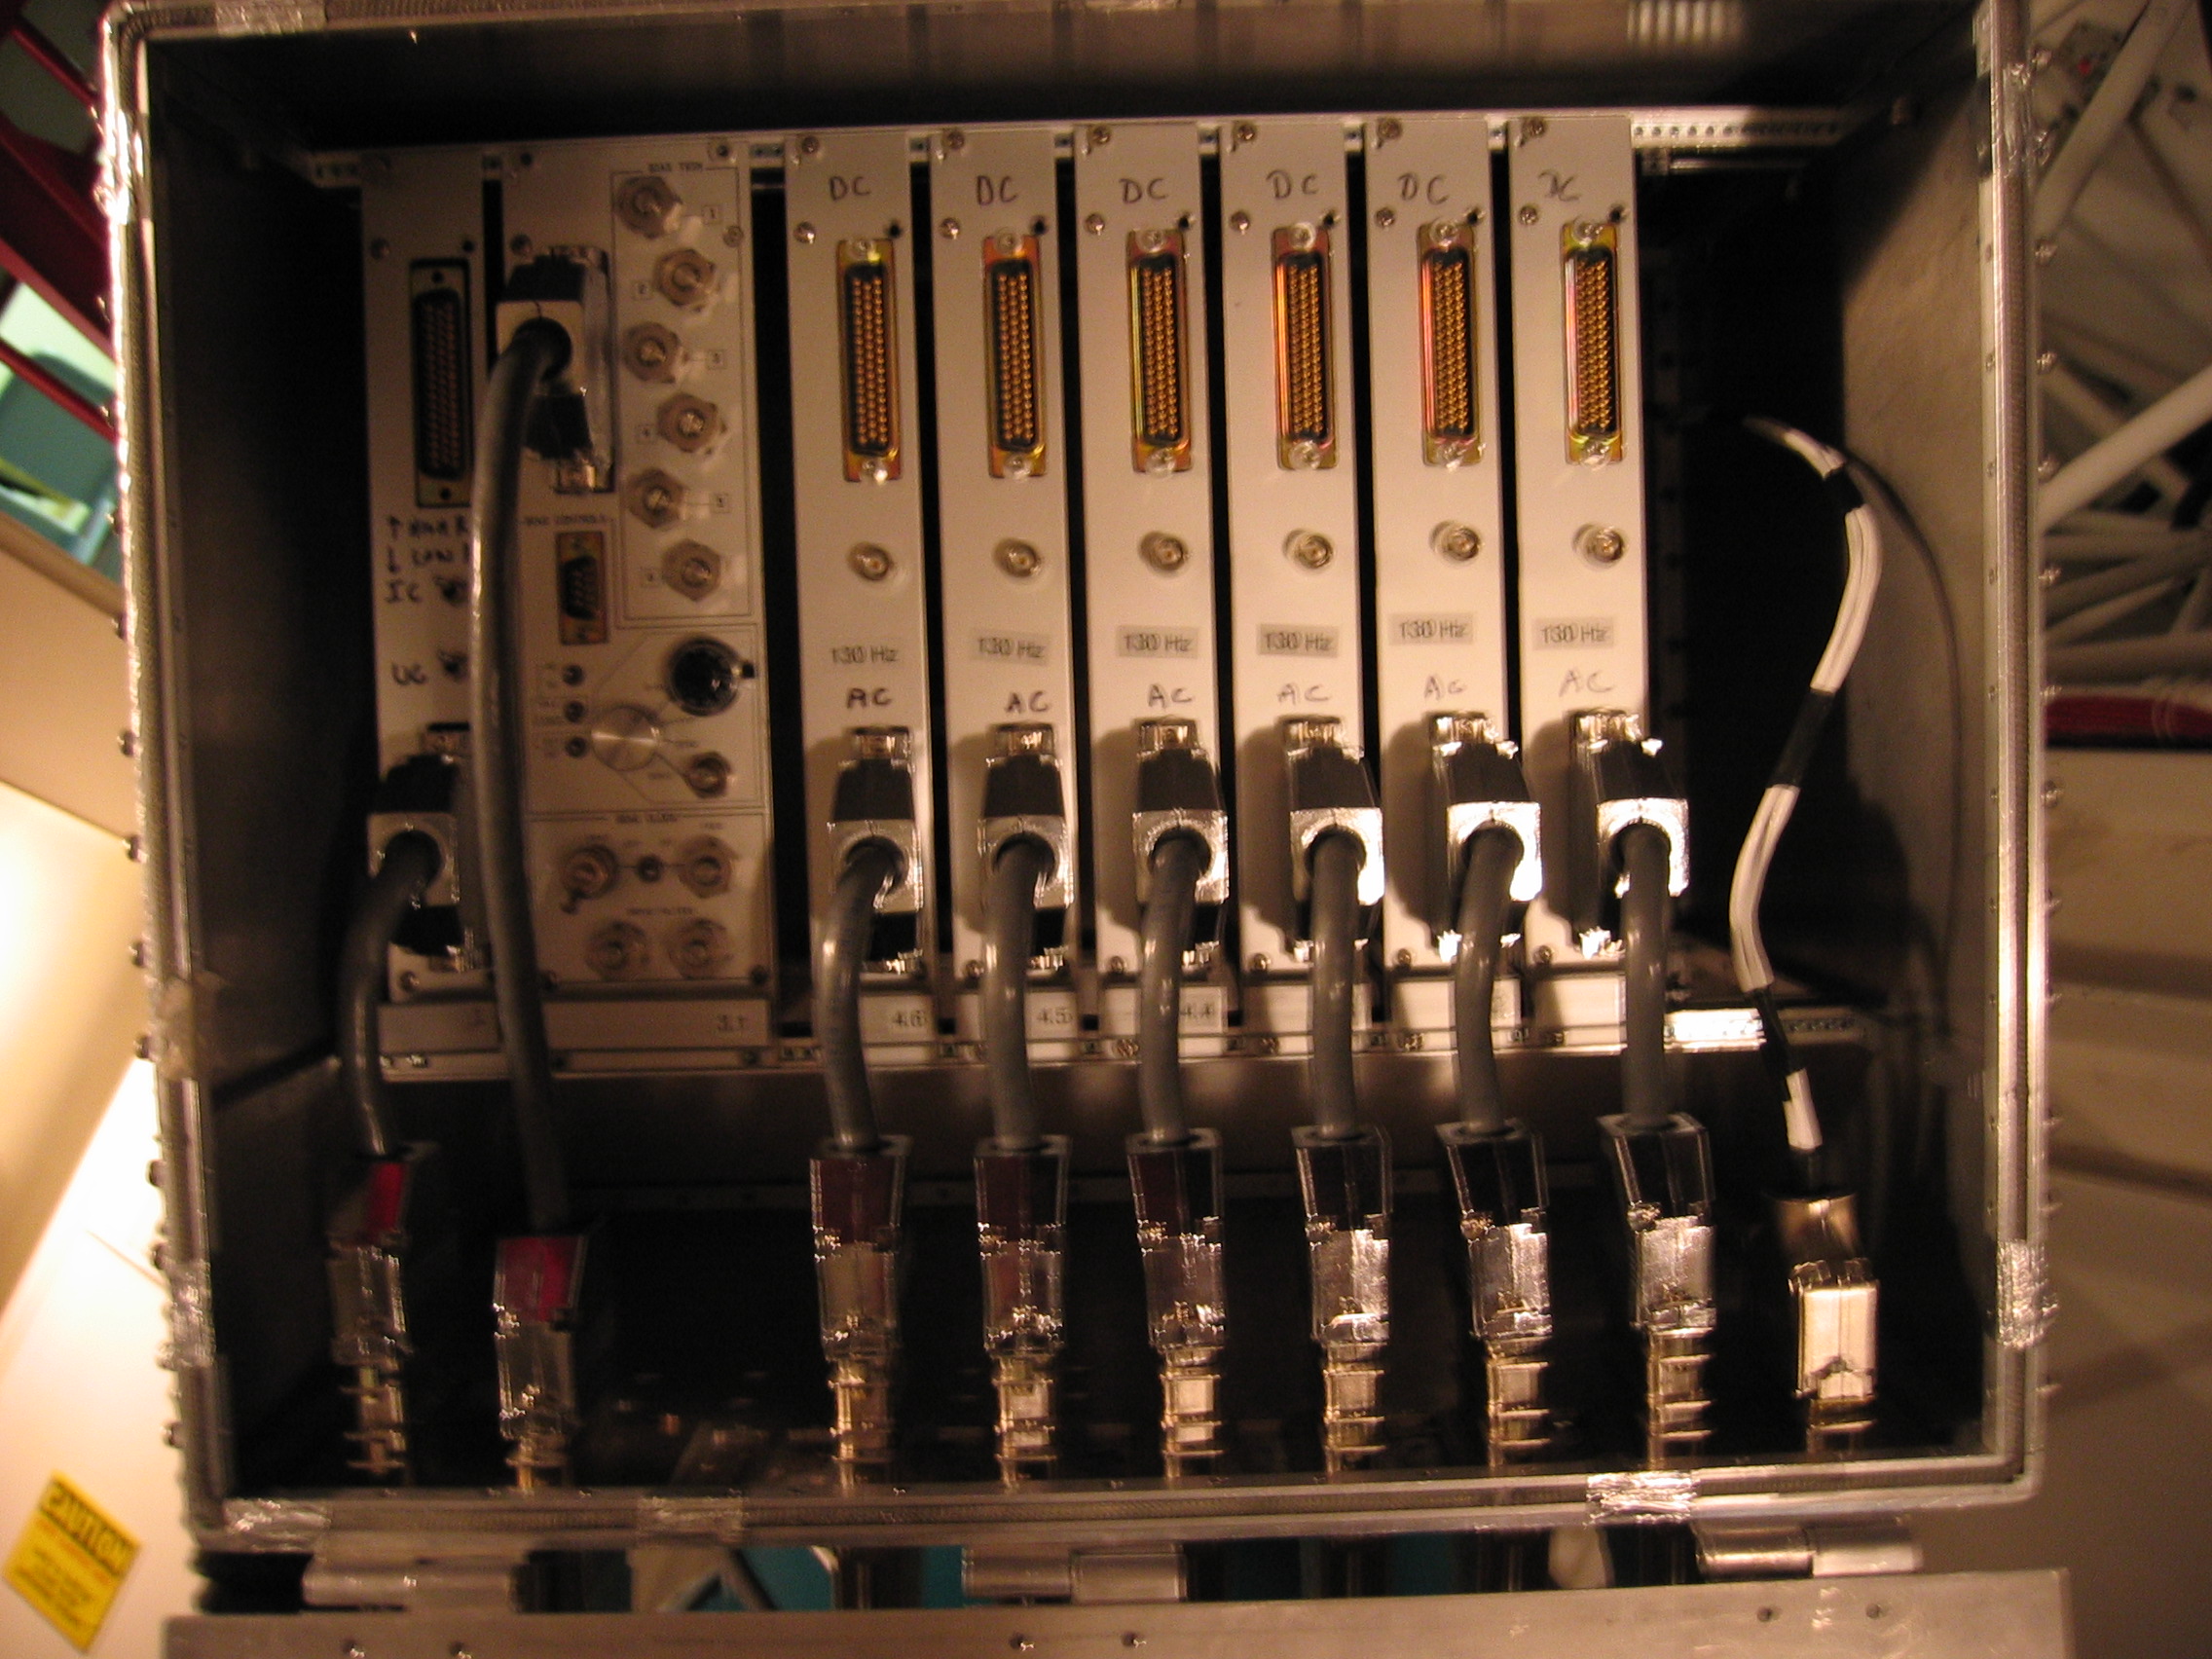
  4. Go to the alidade platform, open the back of the electronics box so you can see the boards, 
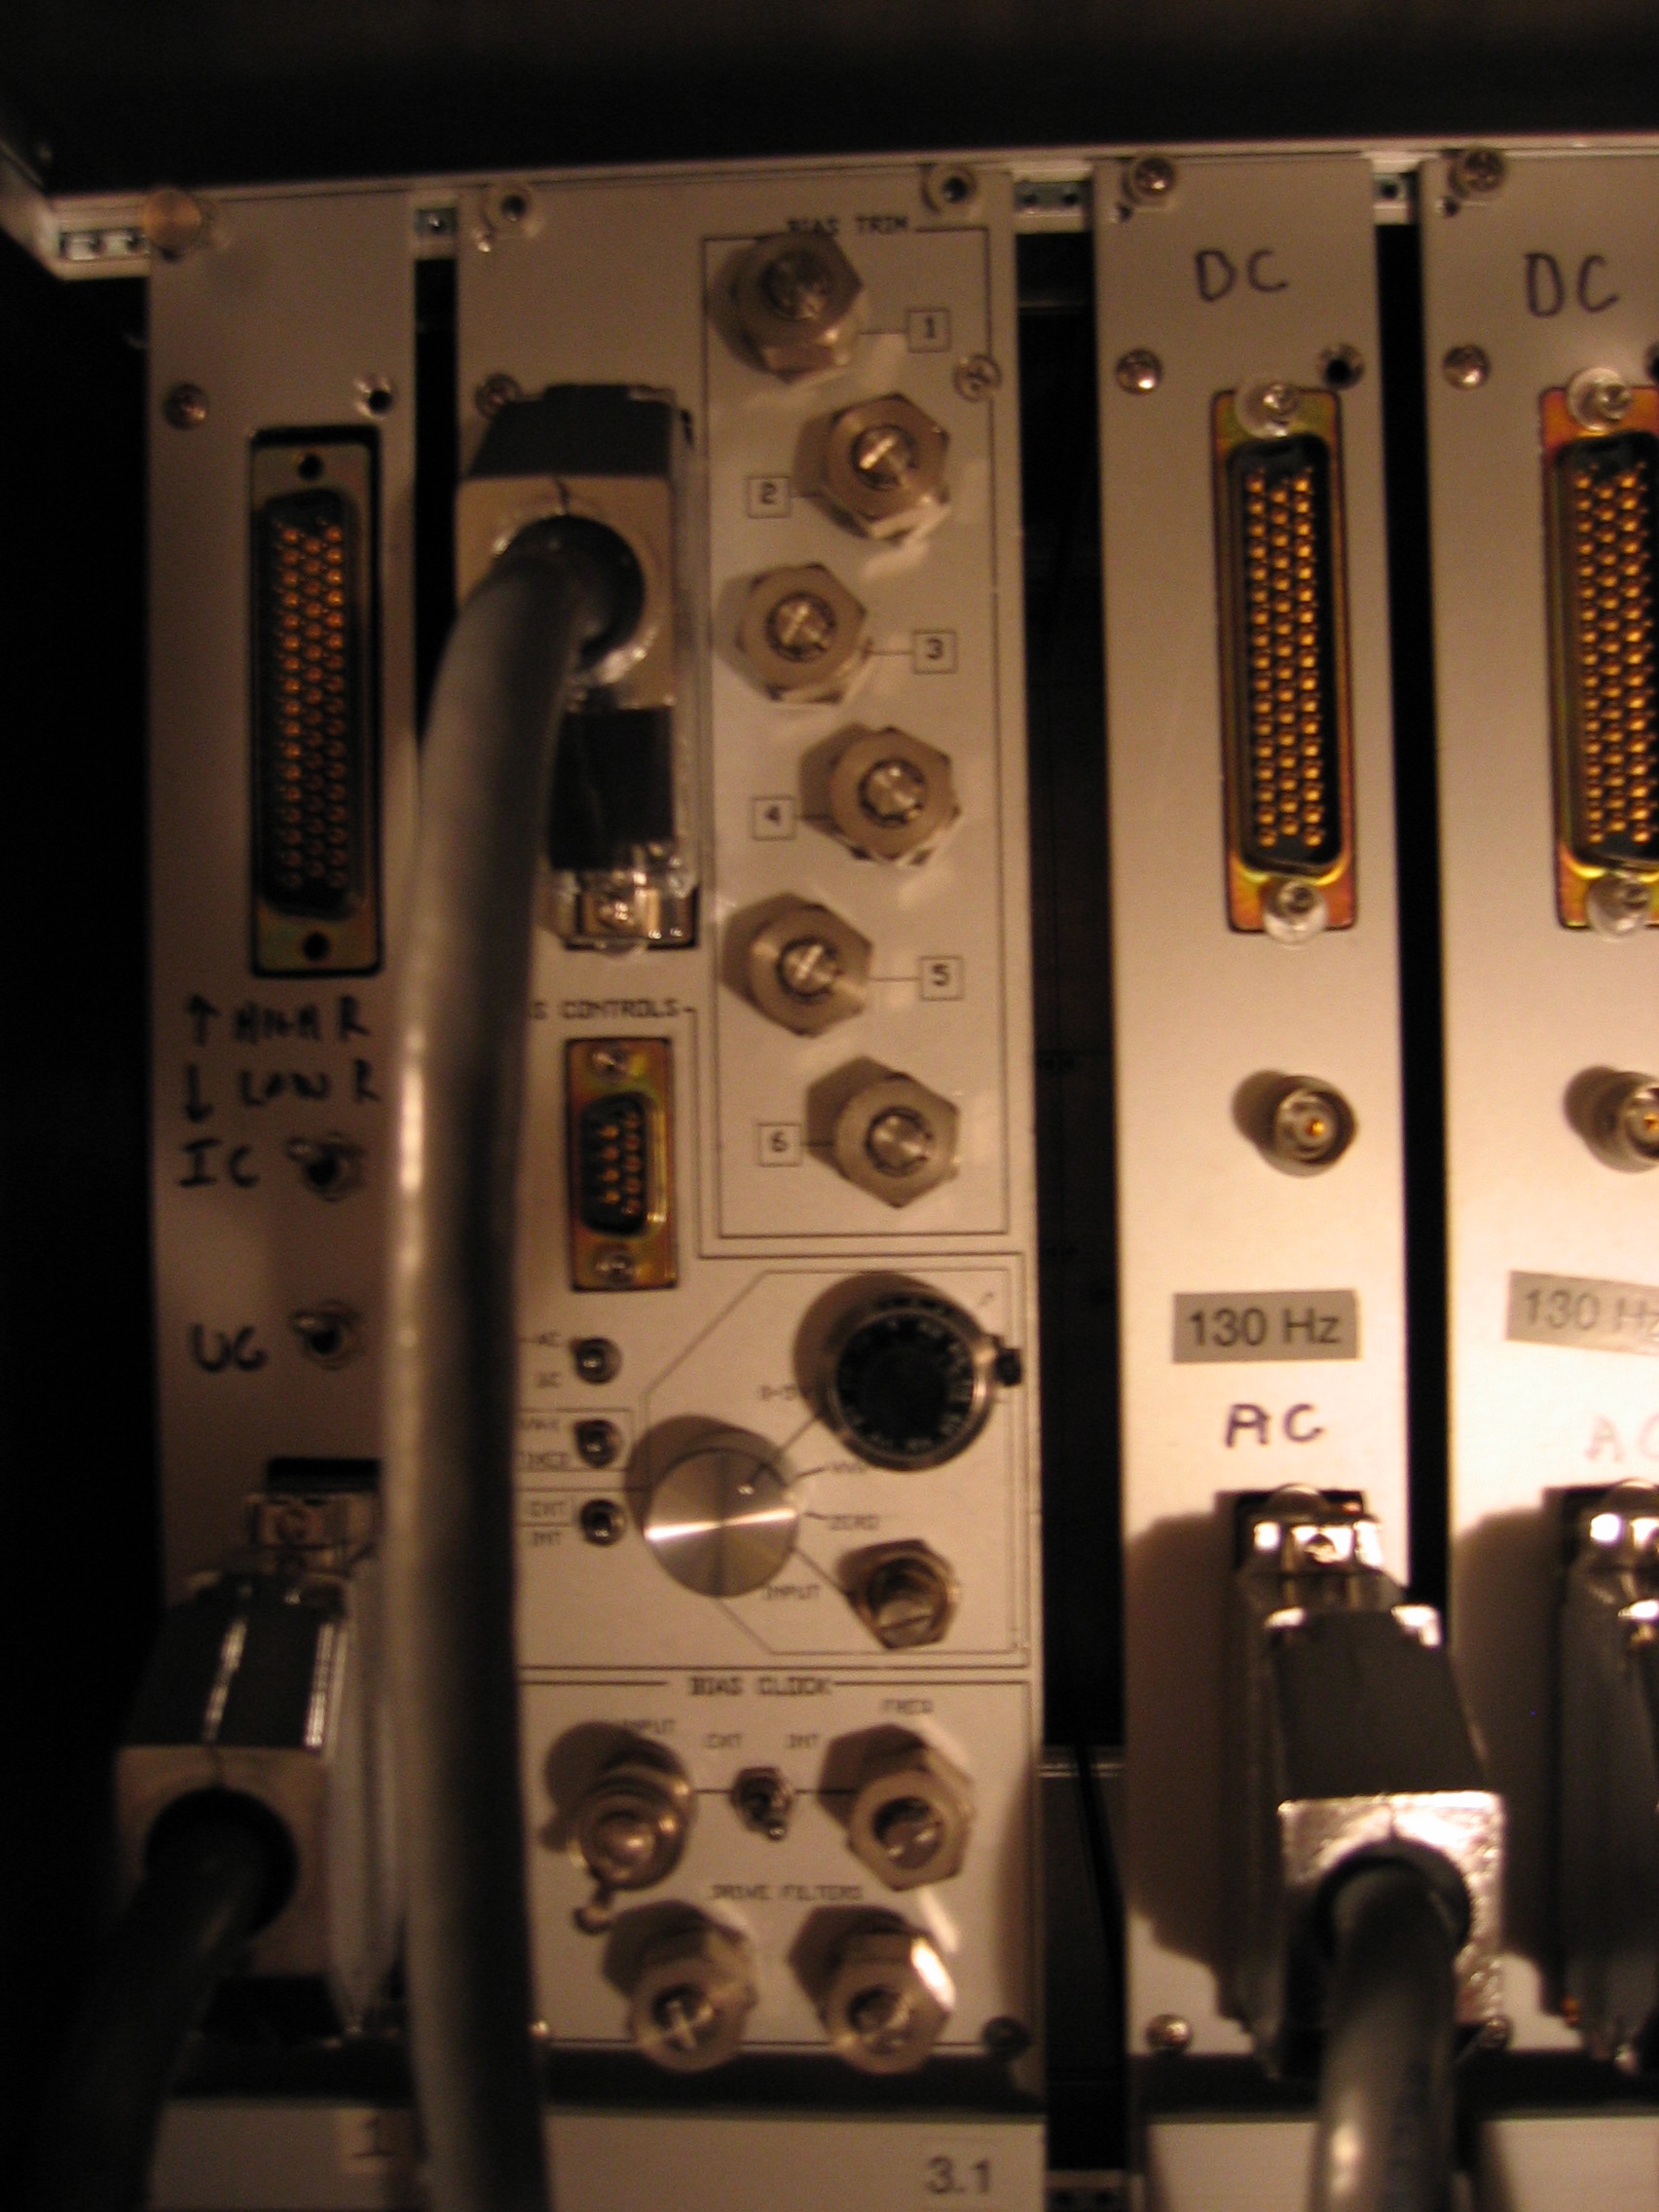
and flip the switches on the bias board as indicated below, leaving the e-box open after flipping the switches.  The bias board is the 2nd board from the left, it has lots of switches and knobs.  
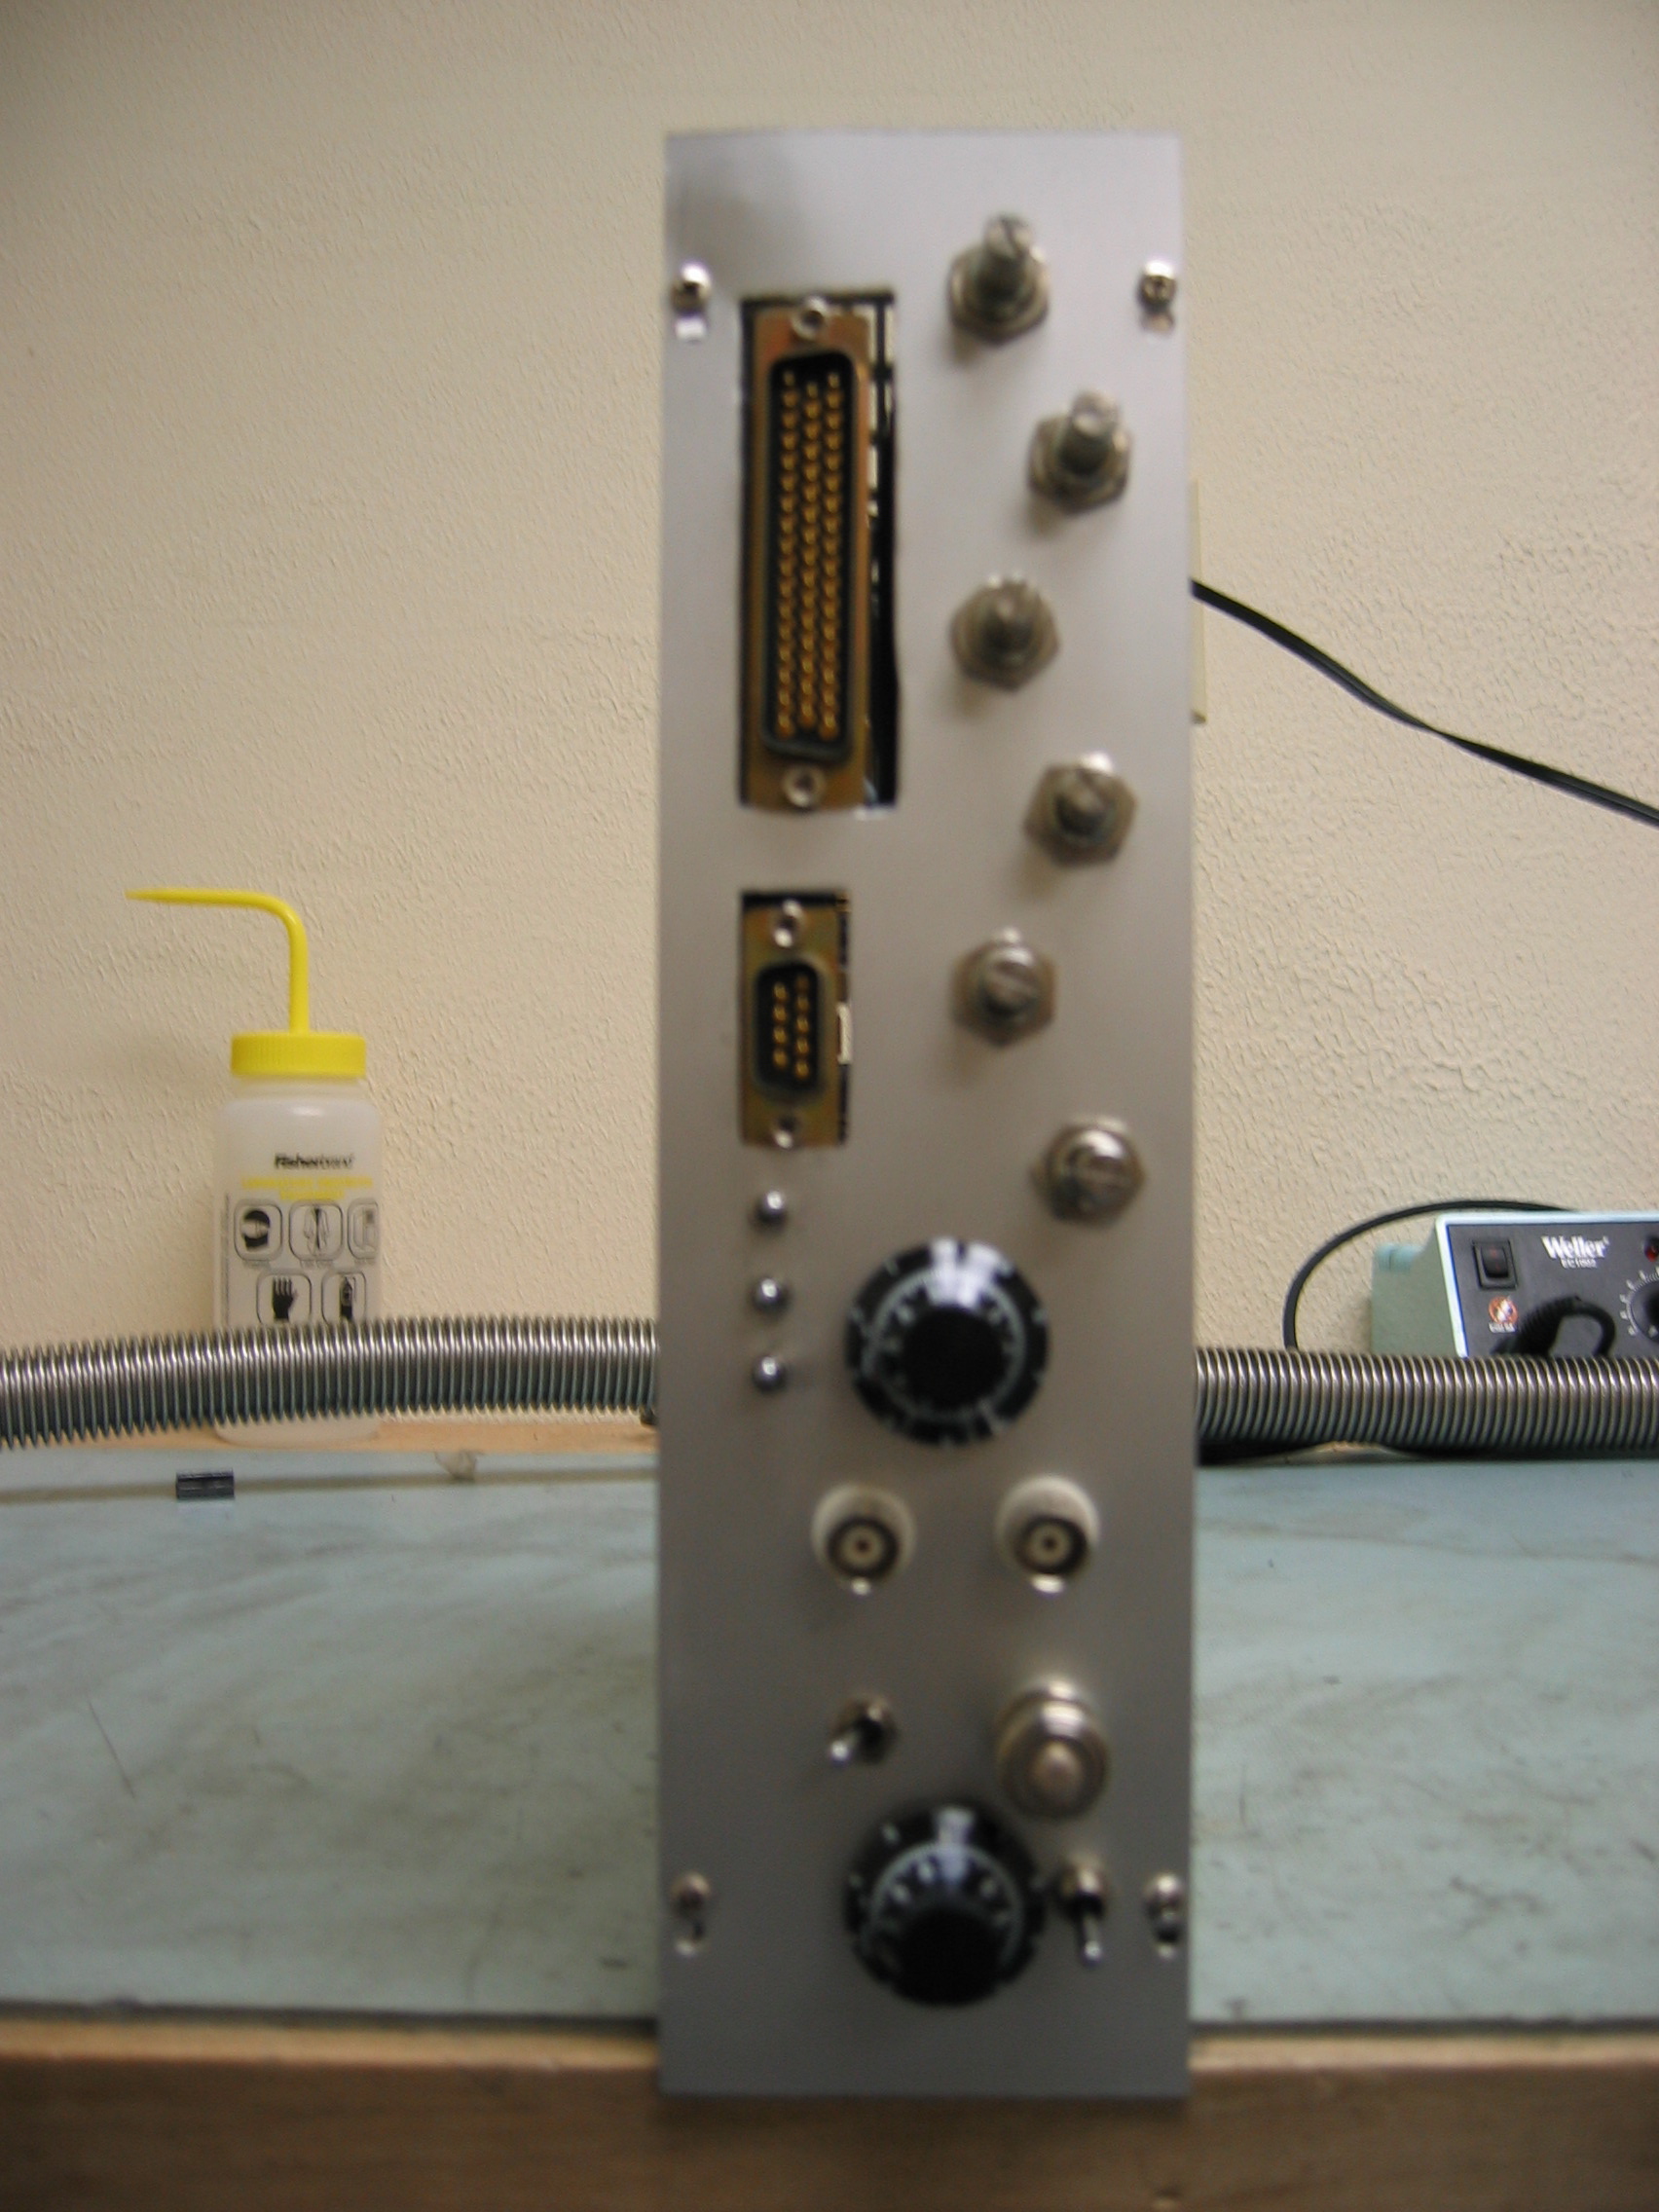
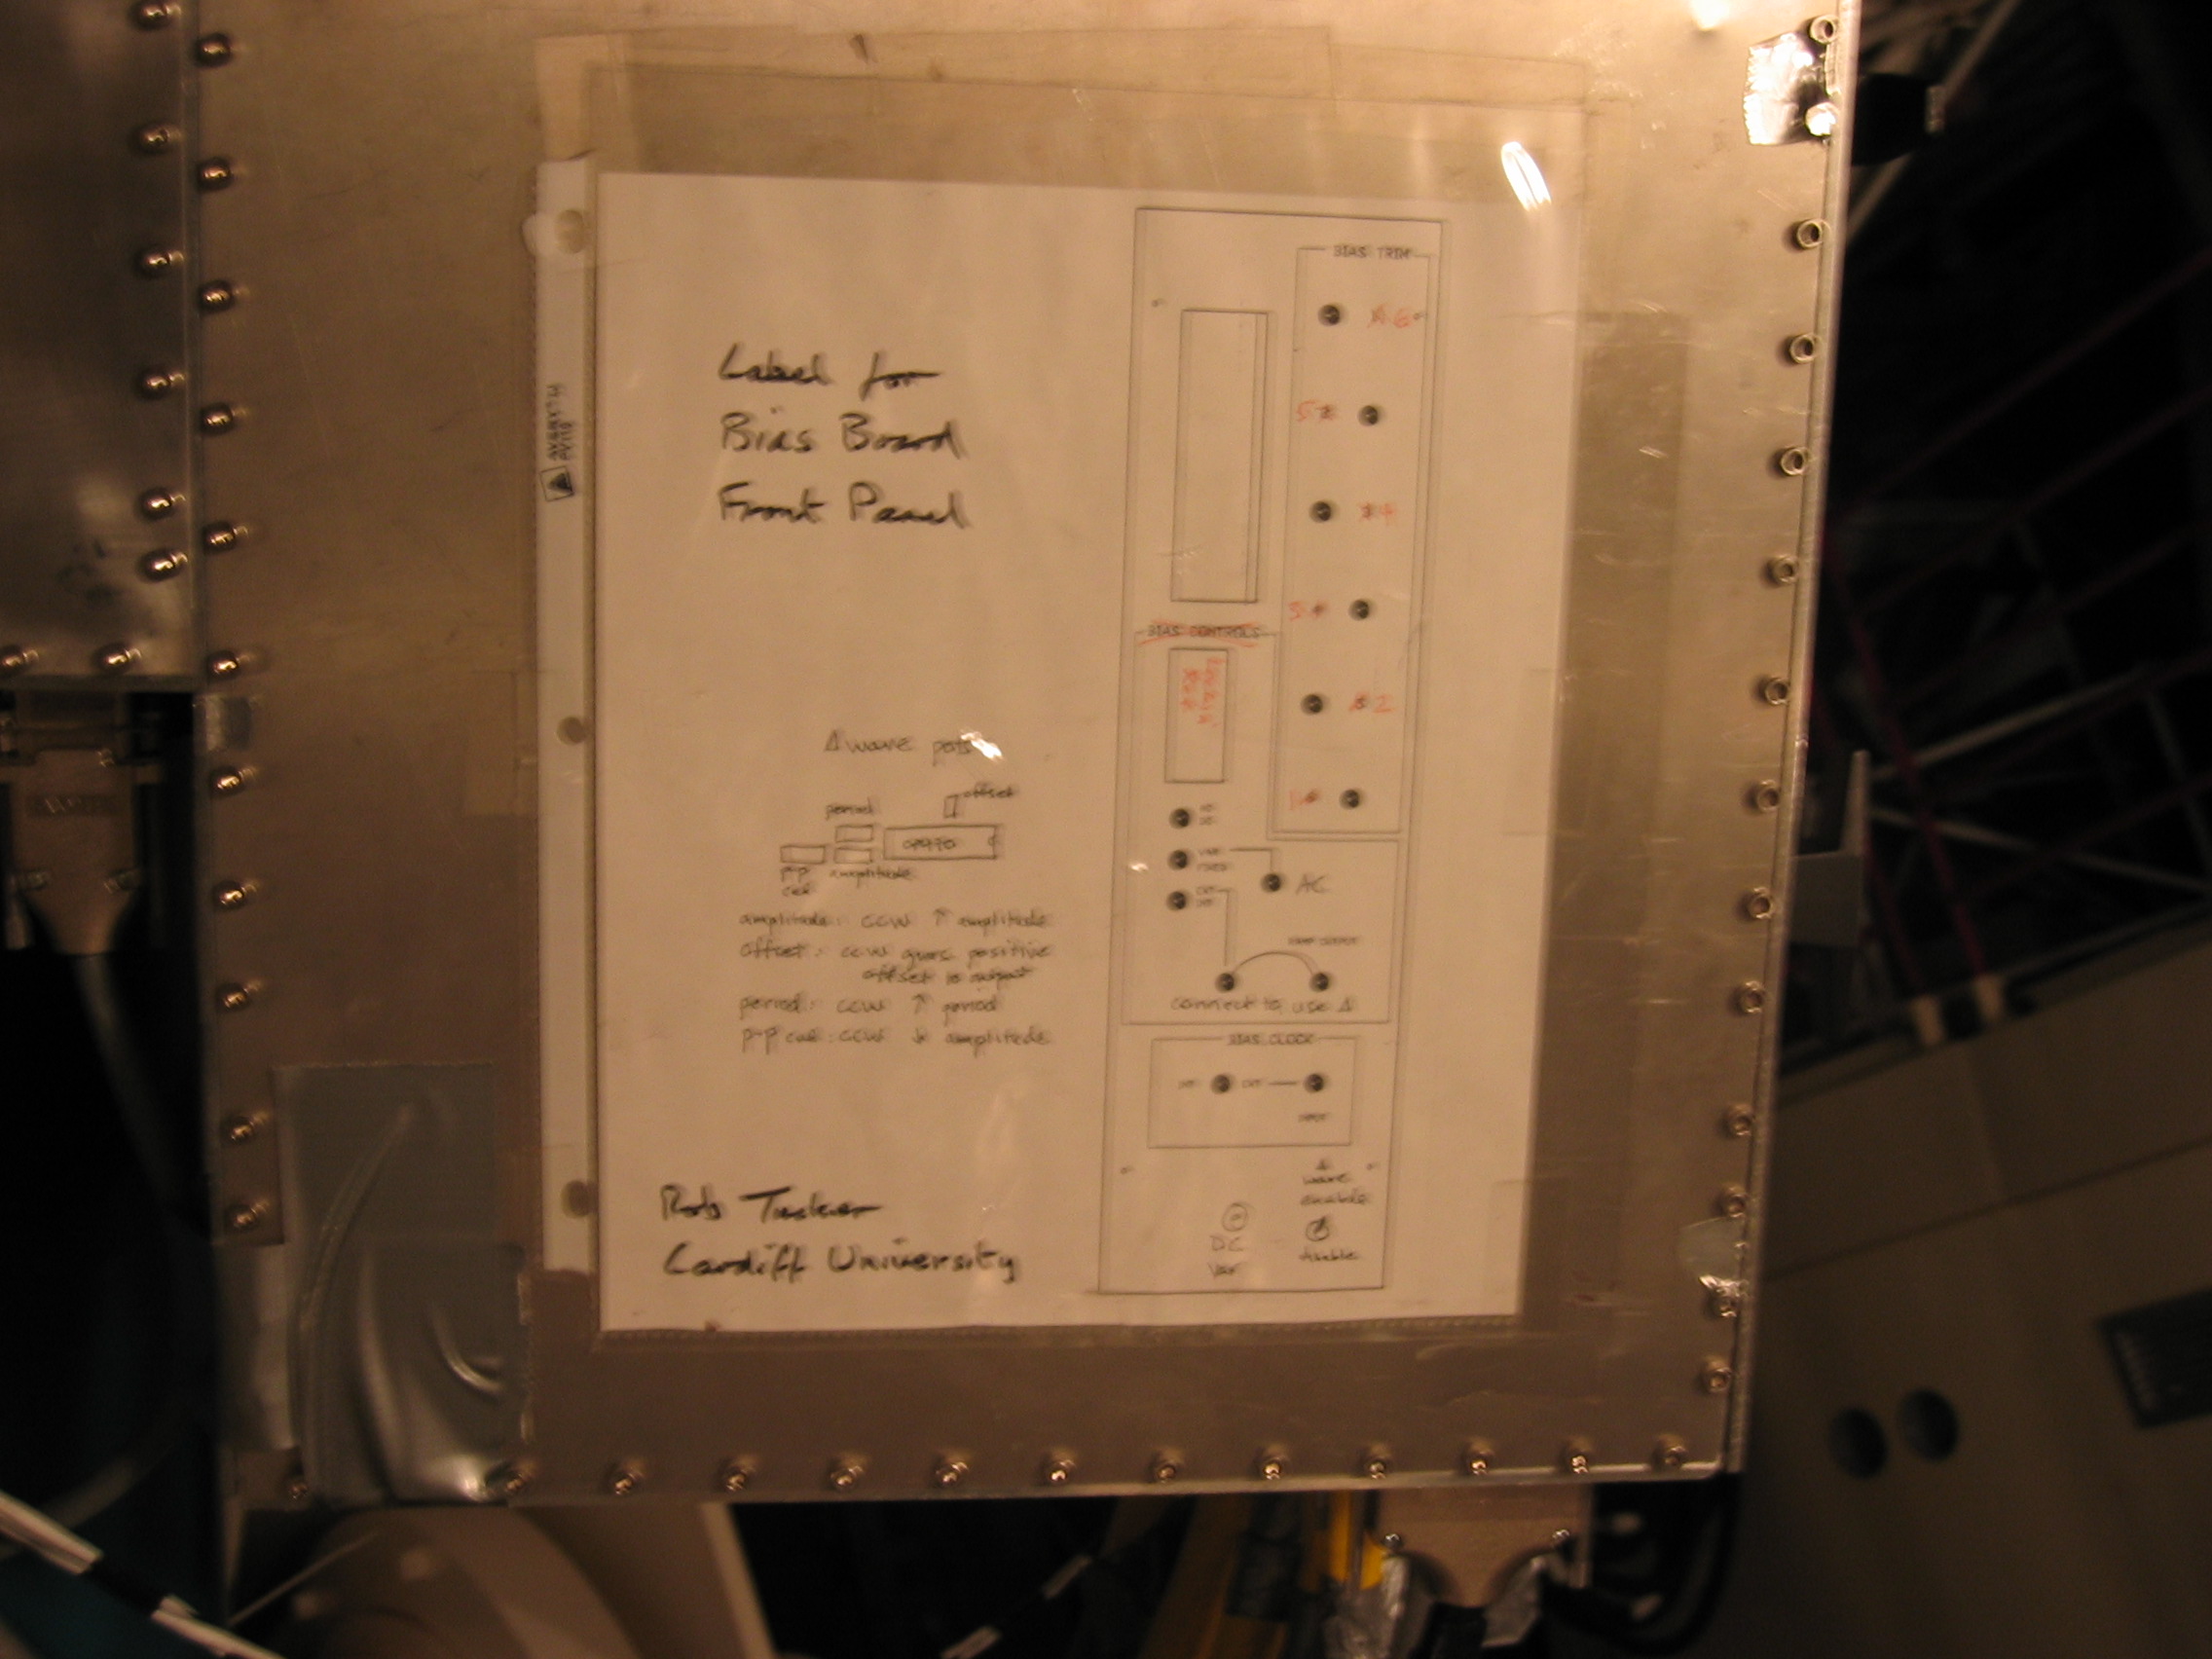
Note that the instructions differ depending on whether you are using a Rev. 2 or a Rev. 3 bias board!  There is a diagram of the Rev. 2 board front panel on the outside of the electronics box for reference (since the front panel is unlabeled!).  You have 2 minutes to do this, don't dilly-dally!

  5. Go back inside and wait for the lines to appear on the screen

    C OBSERVER SHOULD NOW GO OUTSIDE AND ENABLE THE TRIANGLE WAVE

  6. Go back outside and turn on the triangle wave as follows and close the e-box.  Again, you have 2 minutes to do this.


  7. Wait until the macro runs through all the elevations and the FLSIGNAL 128 /RESET command to appears on the screen, followed by the comment line

    C OBSERVER SHOULD GO OUTSIDE AND RETURN THE BOARD TO ITS NOMINAL STATE

    and the bell indicating the macro is finished.

  8. Go back outside, open the e-box, put the bias board back into its normal state as follows, and close the e-box:


  9. Continue with observing as before.

What to check while observing

The 4 computers screens of interest are shown here:
Things to check on a regular basis:

Revision History


Questions or comments? Contact the Bolocam support person.